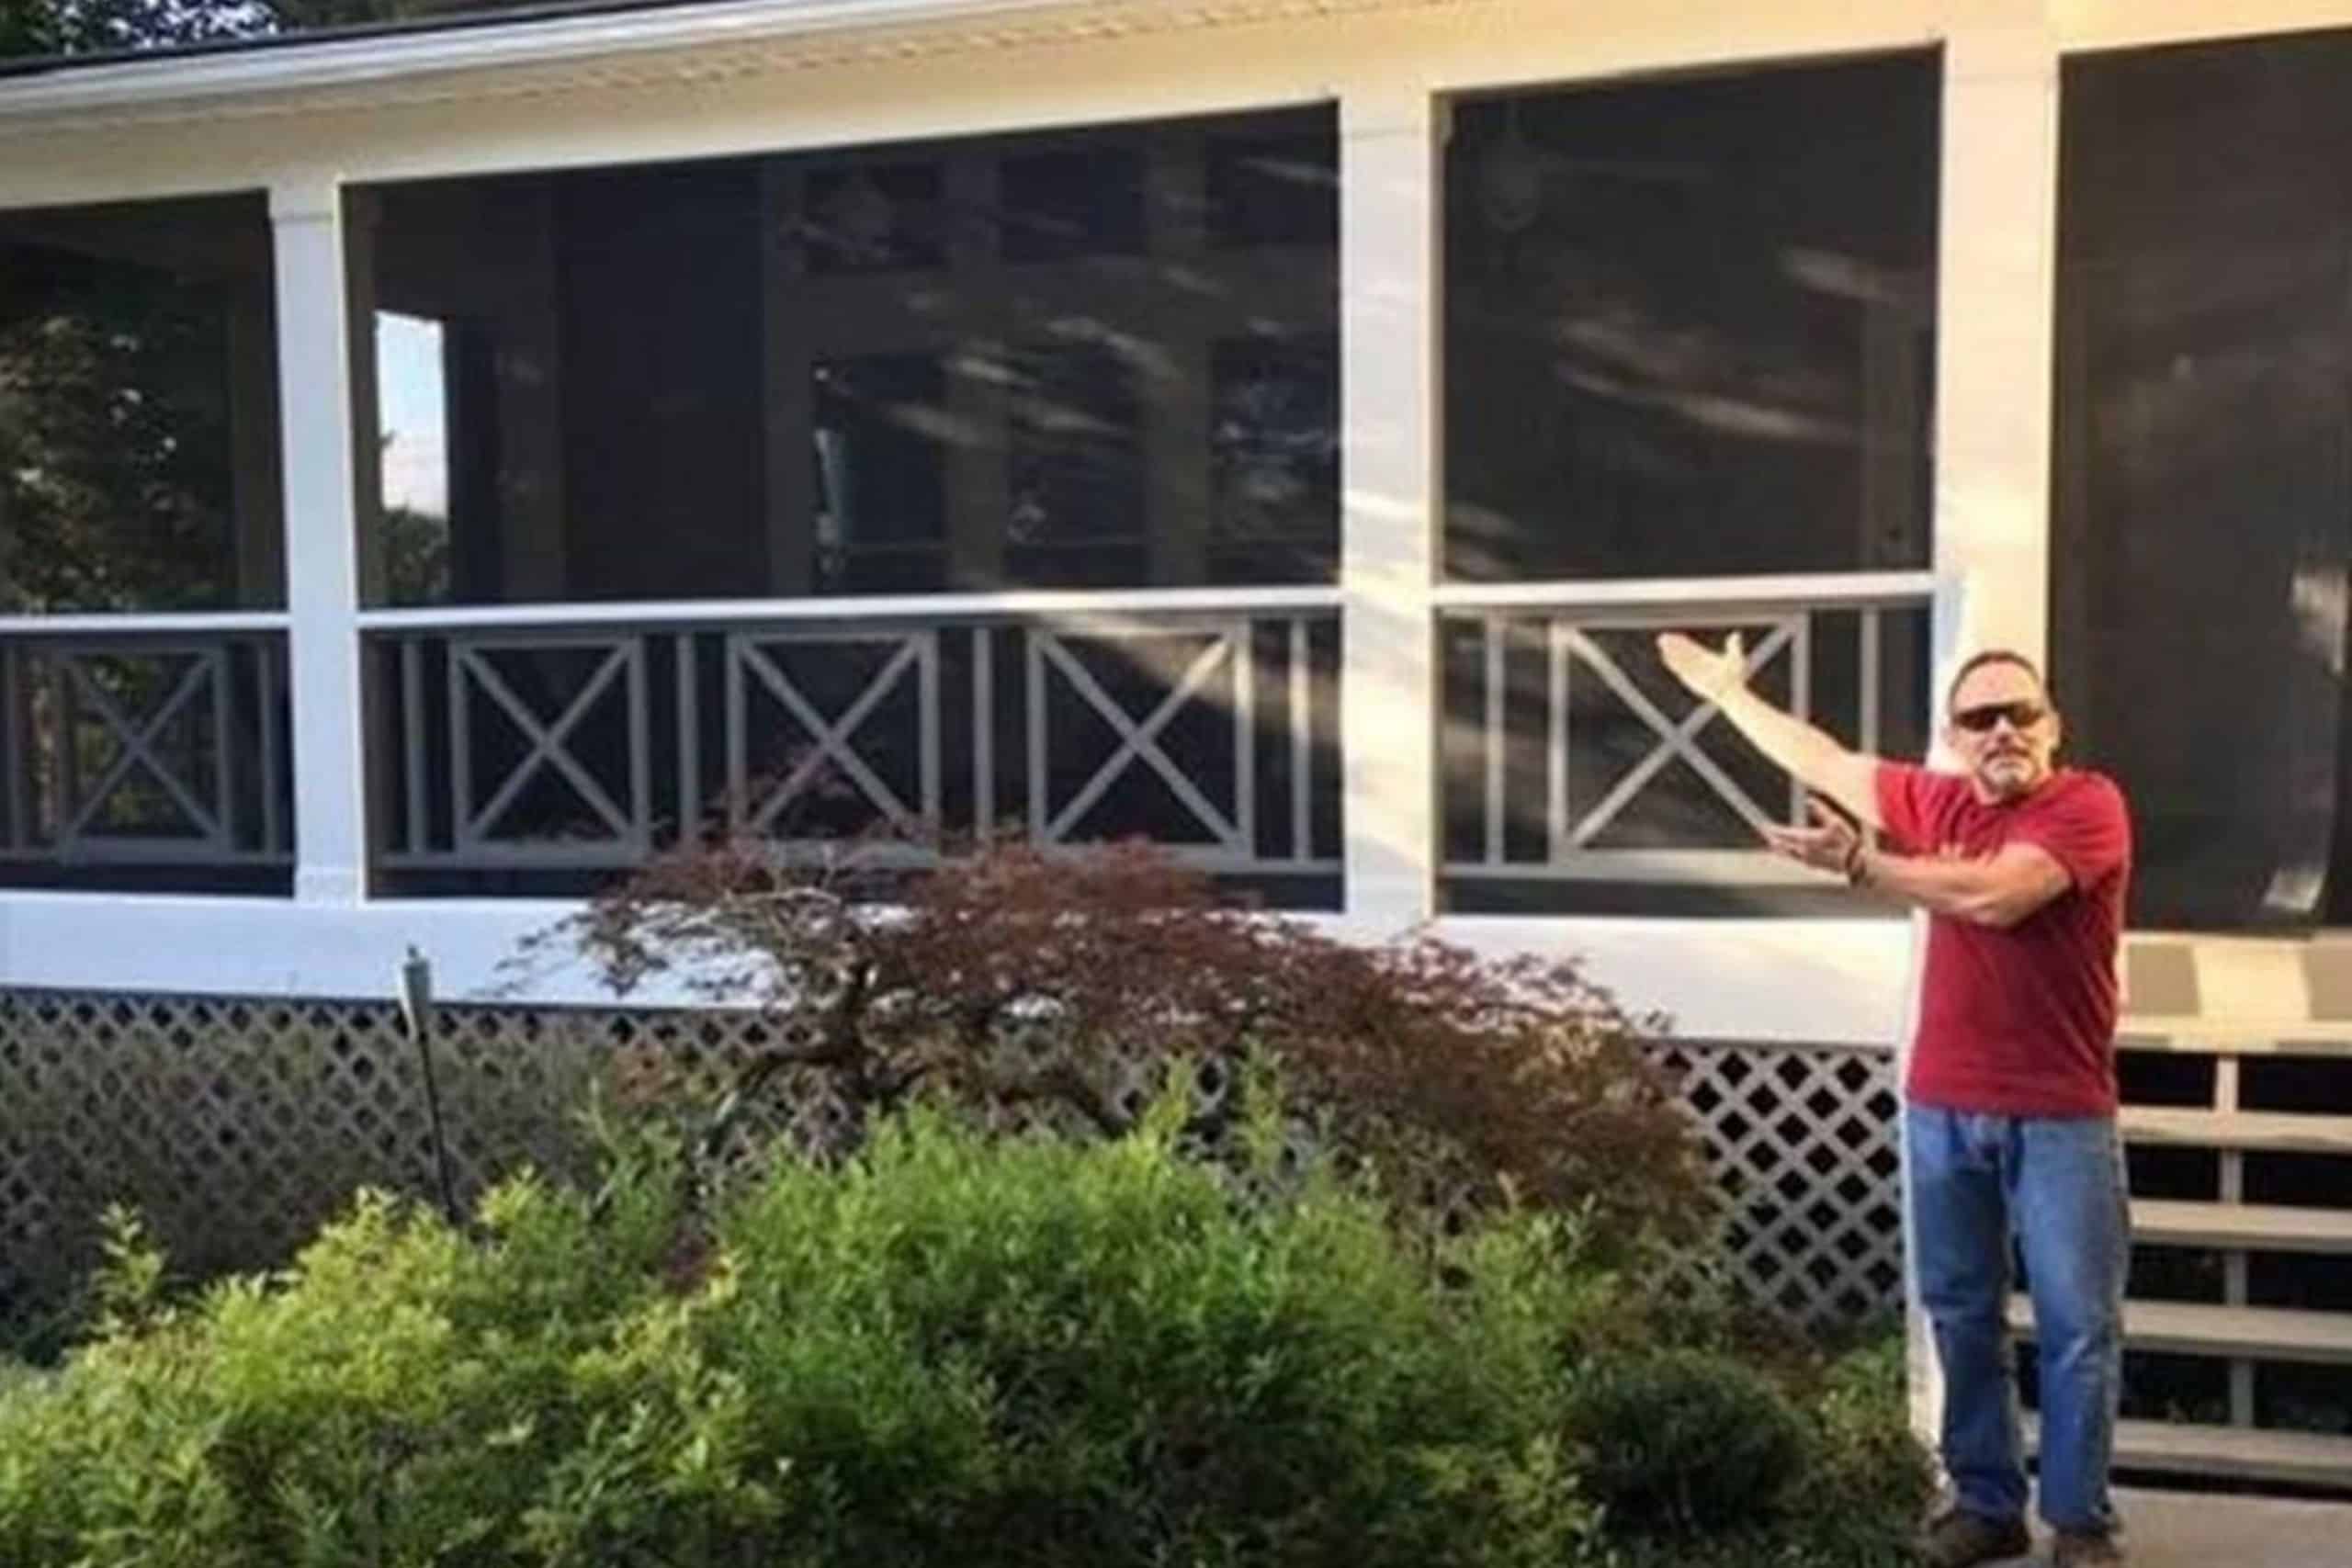
A porch can be a delightful retreat, but adding a screen transforms it into a versatile space that keeps out pests and lets you enjoy the outdoors in comfort. Tackling a DIY porch screen project can be daunting, with many homeowners struggling with traditional methods that often lead to unsightly results. Enter SNAPP® screen, a game-changer in the world of porch screening. Designed to simplify installation and deliver professional-grade results, SNAPP® screen can help you achieve a clean, unobtrusive finish with minimal hassle.
Whether you’re looking to upgrade your porch or create a new screened-in area, this guide will walk you through the process of creating your own porch screen and show you why SNAPP® screen is the perfect choice for your project.
Required Materials
To ensure a smooth and successful DIY porch screen installation, gathering the right materials is essential. Here’s a list of what you’ll need:
- SNAPP® screen: This is the patented SNAPP® screen extrusion, which is the cornerstone of your project. It’s designed to be nearly invisible once installed and fits seamlessly with various base materials.
- Screen Mesh: Choose one of our durable, high-quality, polyester pet resistant mesh that suits your needs. This will be fitted into the SNAPP® screen extrusion.
- Base Material: Depending on your porch structure, this could be wood, metal, or vinyl. This is where the SNAPP® screen extrusion will be attached.
- Tools: You’ll need a hand or power saw (for cutting the screen extrusion), spline tool (to install the screen mesh into the extrusion profiles), measuring tape, utility knife, and a screw gun (for drilling pilot holes and installing hardware).
- Fasteners: Screws to secure the SNAPP® screen extrusion to the structure.
Step-by-Step Process for Your DIY Porch Screen Project
1. Measure and Plan
Begin by measuring the dimensions of your porch or the area where you plan to install the screen. Ensure you measure both the width and height, and note any obstructions or architectural features that might affect the installation. Create a detailed plan, including a sketch of the frame and any corners or joints.
2. Prepare the Materials
Cut the SNAPP® screen extrusion profiles to the required lengths using a miter saw or hand saw. Make sure your cuts are precise and straight to ensure a clean fit. If your project involves putting together multiple profiles, simply butt the extrusions together.
3. Install the Extrusions
Attach the SNAPP® screen extrusions to the structure or prefabricated frame using screws appropriate for the installation. Start with the top and bottom rails then secure the vertical profiles next.
4. Attach the Screen Mesh
Hang the screen mesh over the installed extrusions, ensuring it covers the entire area with a minimum of 1” overlap on all sides. Use the spline tool to insert the mesh into the groove of the extrusion profiles and follow with installation of the retainer spline. The mesh should be taut and smooth to avoid wrinkles and ensure a clean appearance.
5. Secure and Finish
Double-check all connections and ensure the screen is securely attached. Remove spline and reinstall screen if any wrinkles are present. Once satisfied, trim any remaining excess material with a utility knife.
6. Final Inspection
Inspect the entire installation for any gaps, loose fittings, or irregularities. Make any necessary adjustments to ensure the screen is firmly and evenly installed. Clean the area around the screen to remove any debris from the installation process.
By following these steps, you’ll create a professional-quality porch screen with the help of SNAPP® screen, ensuring a clean, attractive finish that enhances your outdoor space.
Benefits of SNAPP® Screen
Choosing SNAPP® screen for your DIY porch screen project offers numerous advantages. The system’s versatility allows for easy installation on any base material, whether it’s a custom frame or an existing structure, making it ideal for various applications. You can attach it directly to the structure or frame without needing specialized tools or skills, simplifying the process, and SNAPP® screen accommodates miter and butt corners, offering flexibility for complex designs.
SNAPP® screen’s user-friendly design and adaptability make it the ideal choice for any DIY porch screening project. If you’re ready to take on your porch screen project, consider incorporating SNAPP® screen for a professional-quality result with ease.
For expert assistance and to ensure a flawless installation, contact us at Screen Porch – our team is here to provide support and answer any questions you may have about using SNAPP® screen. Let us help you achieve a beautifully finished porch screen that enhances your outdoor living space today!