Porch Columns, Capitals and Bases
Besides holding up the roof, porch columns can add curb appeal and enhance the overall appearance of your home. While many porches have simple 4” x 4” or 6” x 6” columns (making the screening project very simple), others may be additionally decorated with capitals, bases, decorations or be faced with PVC, trim boards, stone, stucco or brick. Consequently, some of these features can be a major challenge to overcome when screening in a porch.
Standard Type Columns
This sections includes typical post and bean construction, 2x4, 4x4, 6x6, etc.
Standard columns fully exposed: These are the most basic of columns that would be found and have no special requirements to facilitate installation. Simply install the extrusion right onto the column. (PVC and powder coated aluminum are both direct mount to PT lumber. For added caution, we recommend a bond breaker be applied between aluminum extrusions and PT lumber. Simply run standard electrical tape on the back side of all aluminum extrusions to break the bond between the lumber and extrusion)
Standard columns wrapped with wood or PVC trim board: Treat these the same as a fully exposed column.
Standard column with PVC sleeve cover: Depending upon the manufacturer and style of tube, there may be a gap between the sleeve and the internal post. Give the sleeve a good squeeze in the center and see how far it deflects.
- Little to no deflection: Treat this the same as a fully exposed column except that the extrusion should be mounted at any depth within the opening but not closer than 1/2" from the external column face.
- Obvious substantial deflection (indicating a gap between internal column and sleeve): Mount the extrusion at any depth within the opening but not closer than 1/2" from the external column face. Keep a sharp eye on the sleeve during installation and only tighten screws till you begin to see the sleeve deflect inward. Additionally, in these situations, our stock installation screws will not work. You will need to supply your own 1-1/2" hardware. Caution: Over tightening of installation screws can crack or deform the cover sleeve.
Capitals and Bases
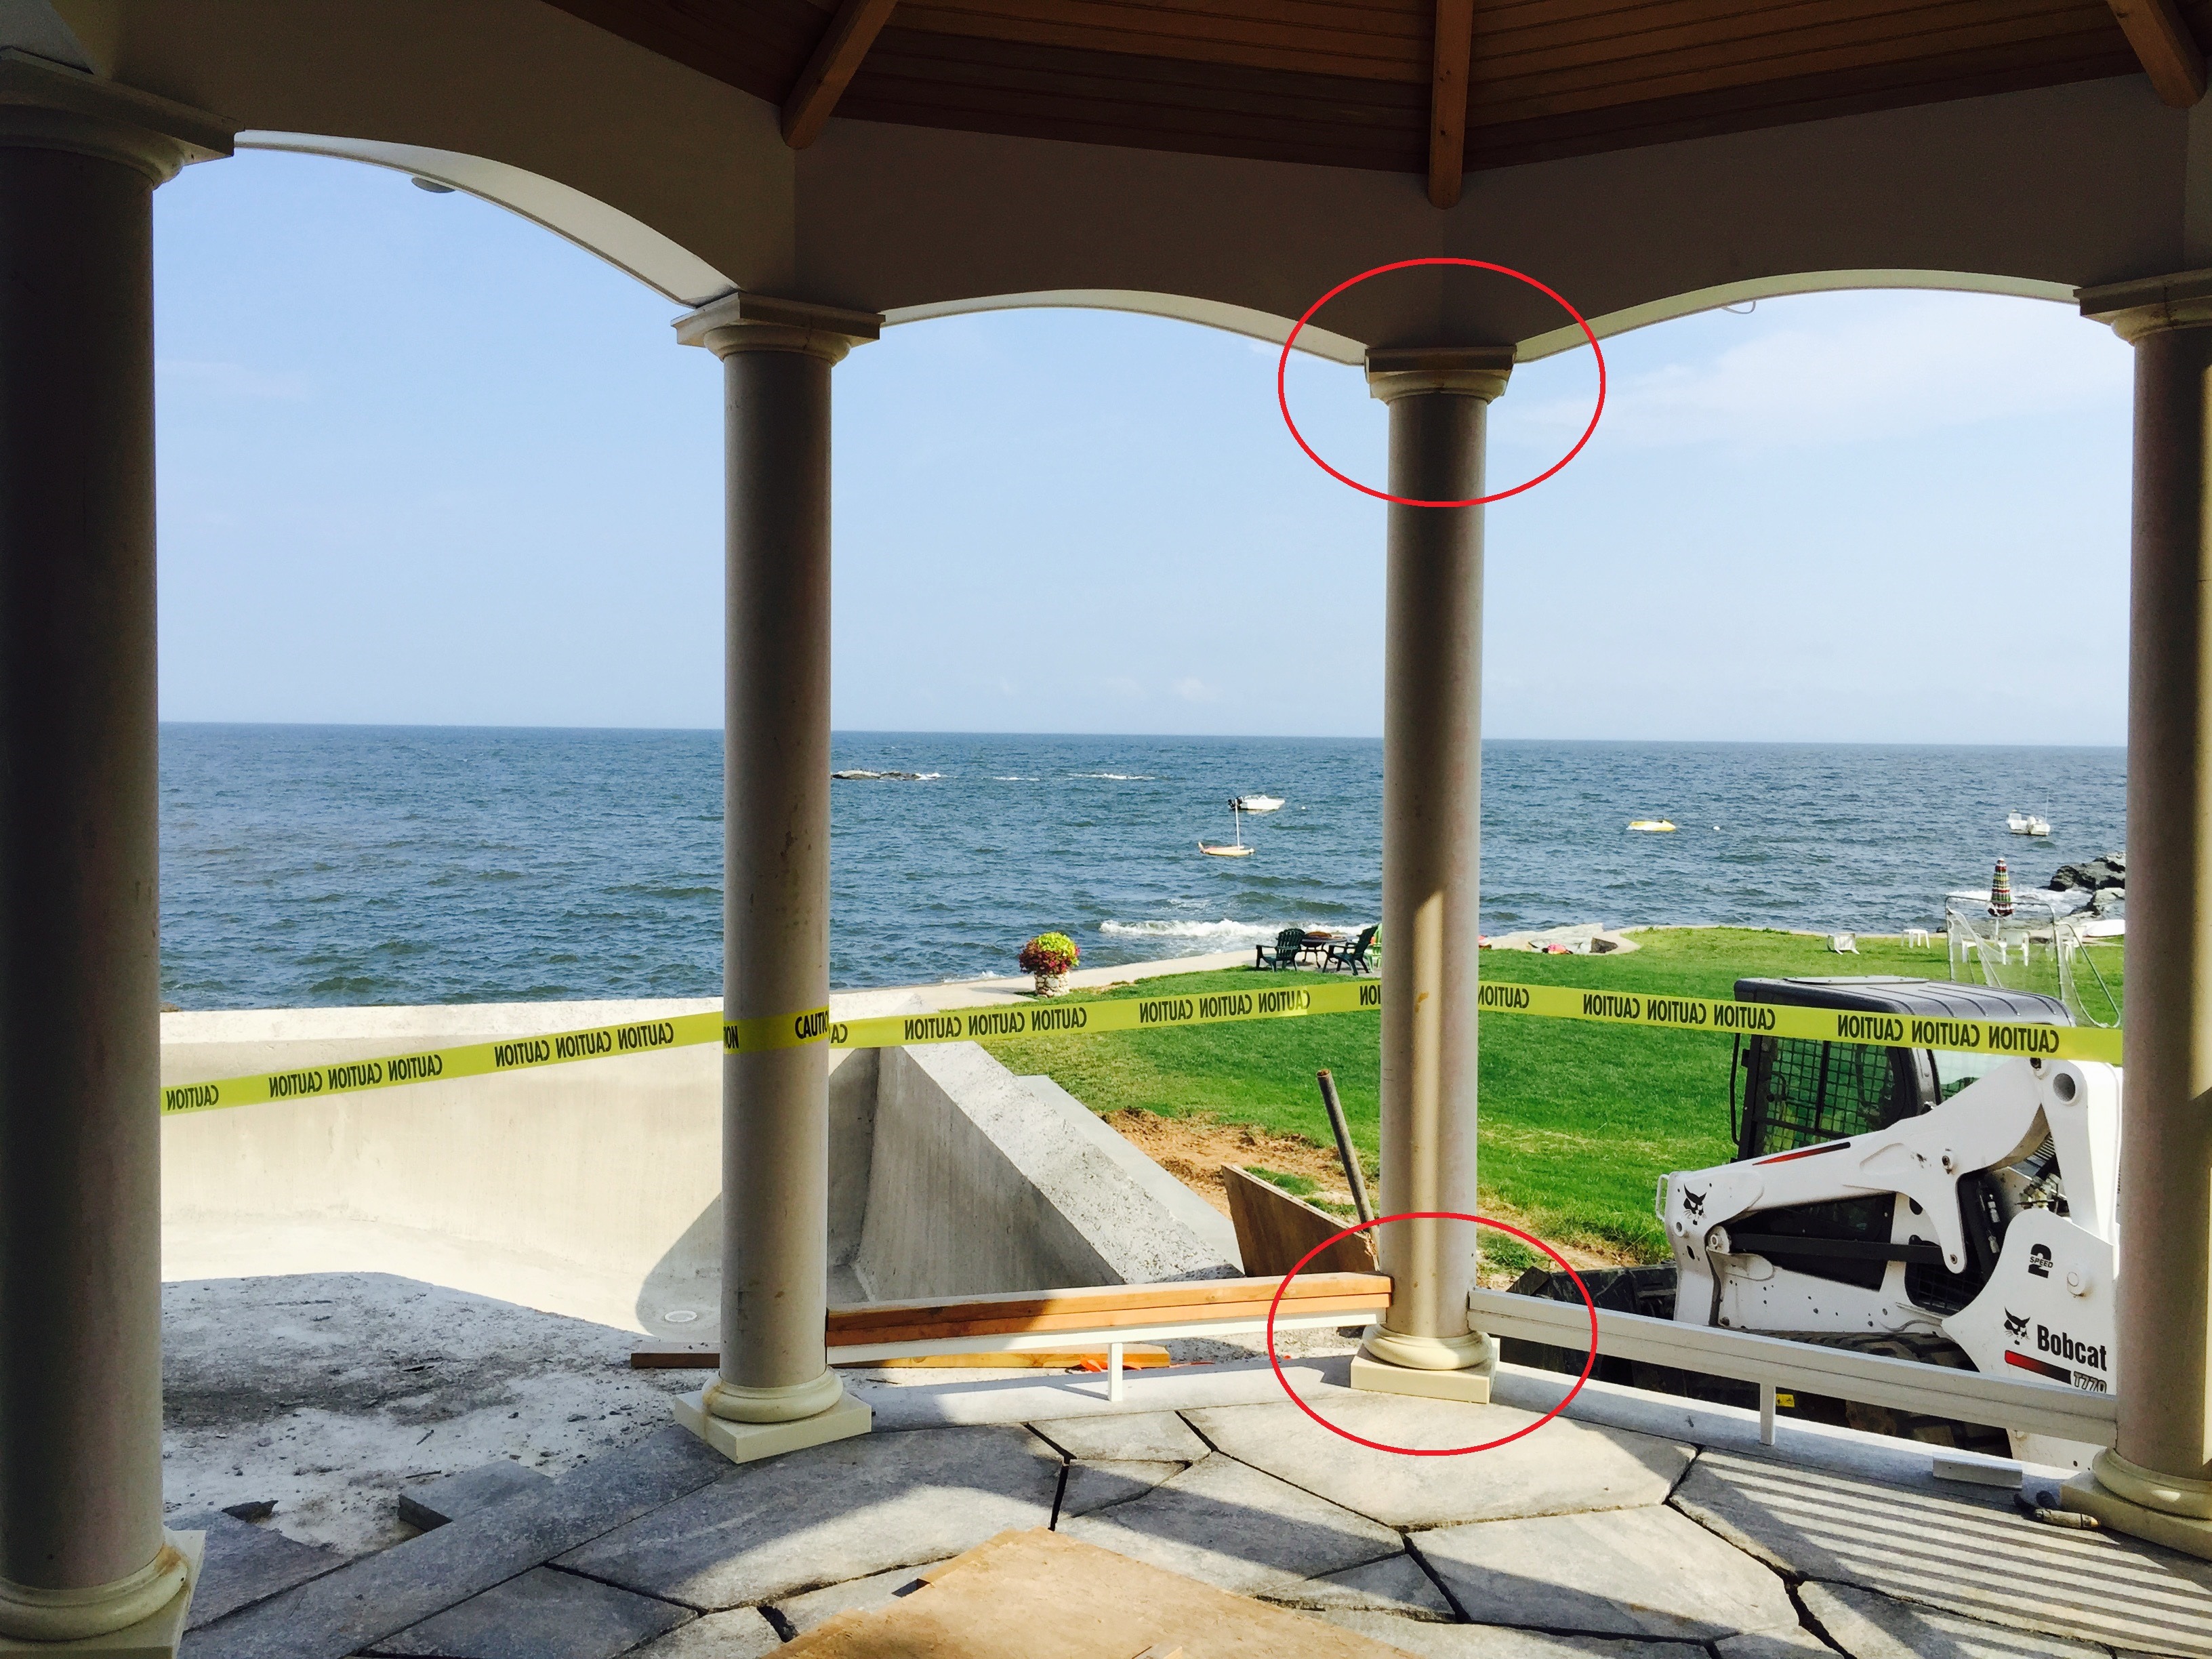
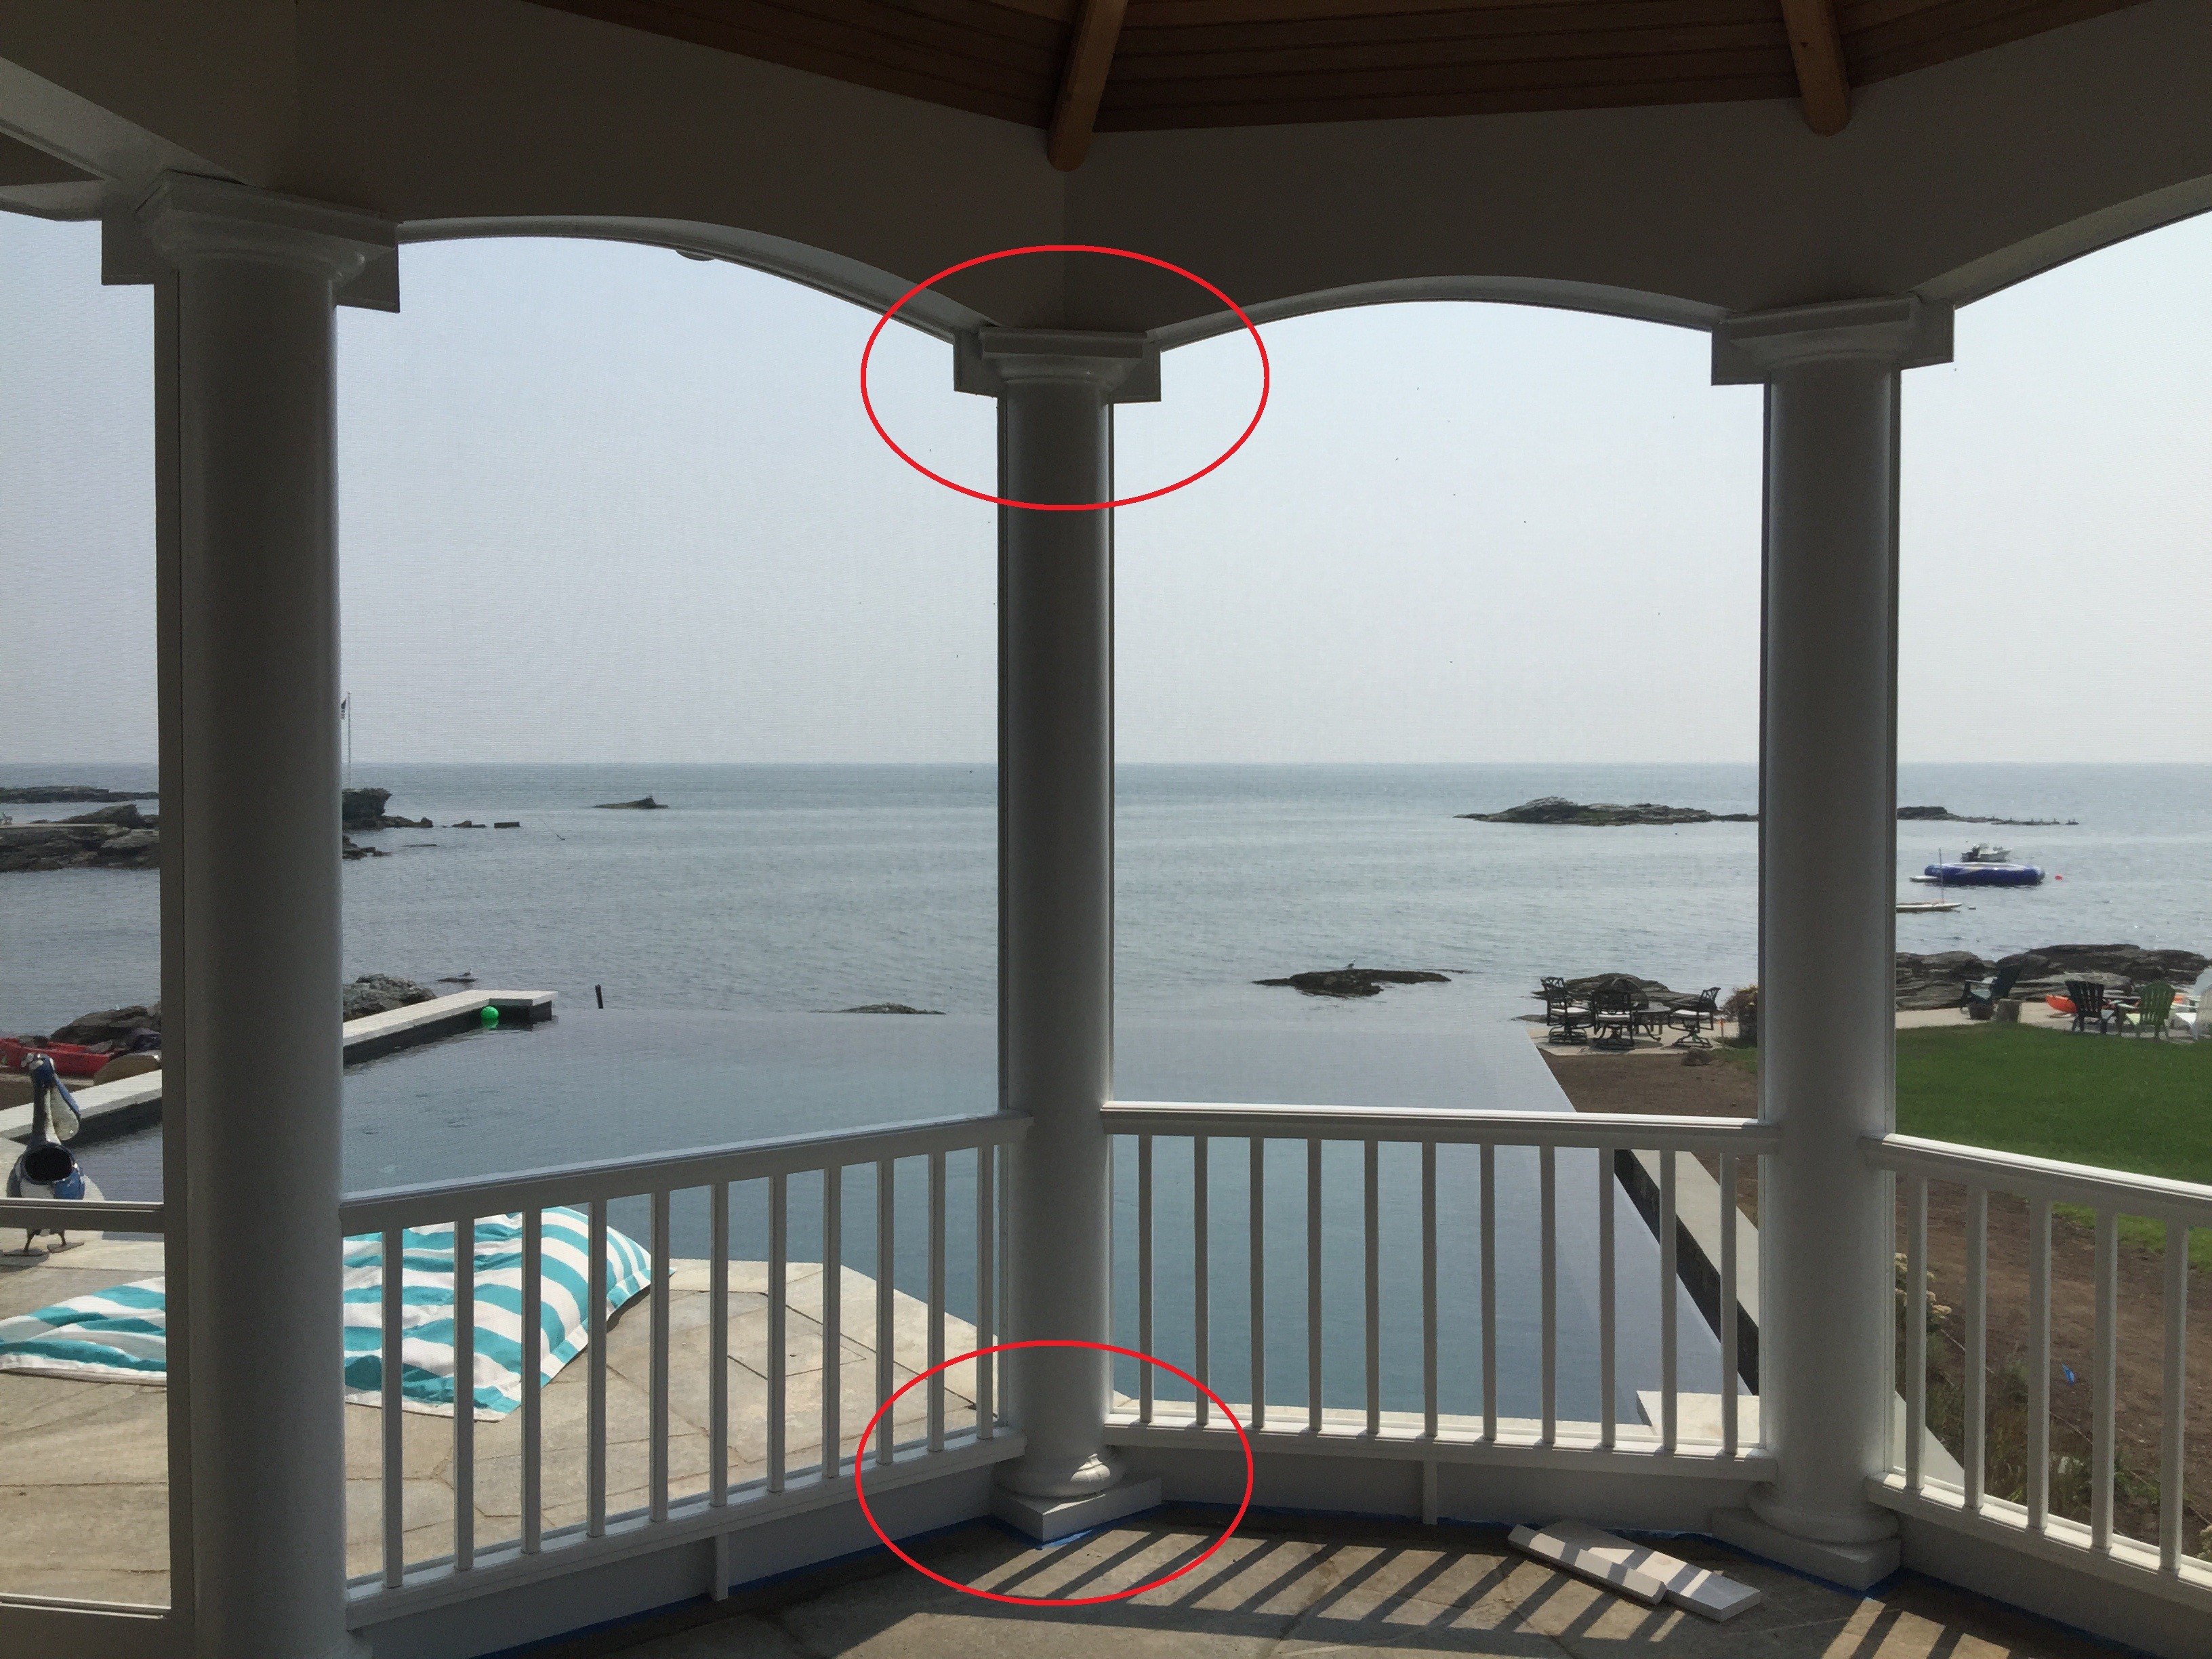
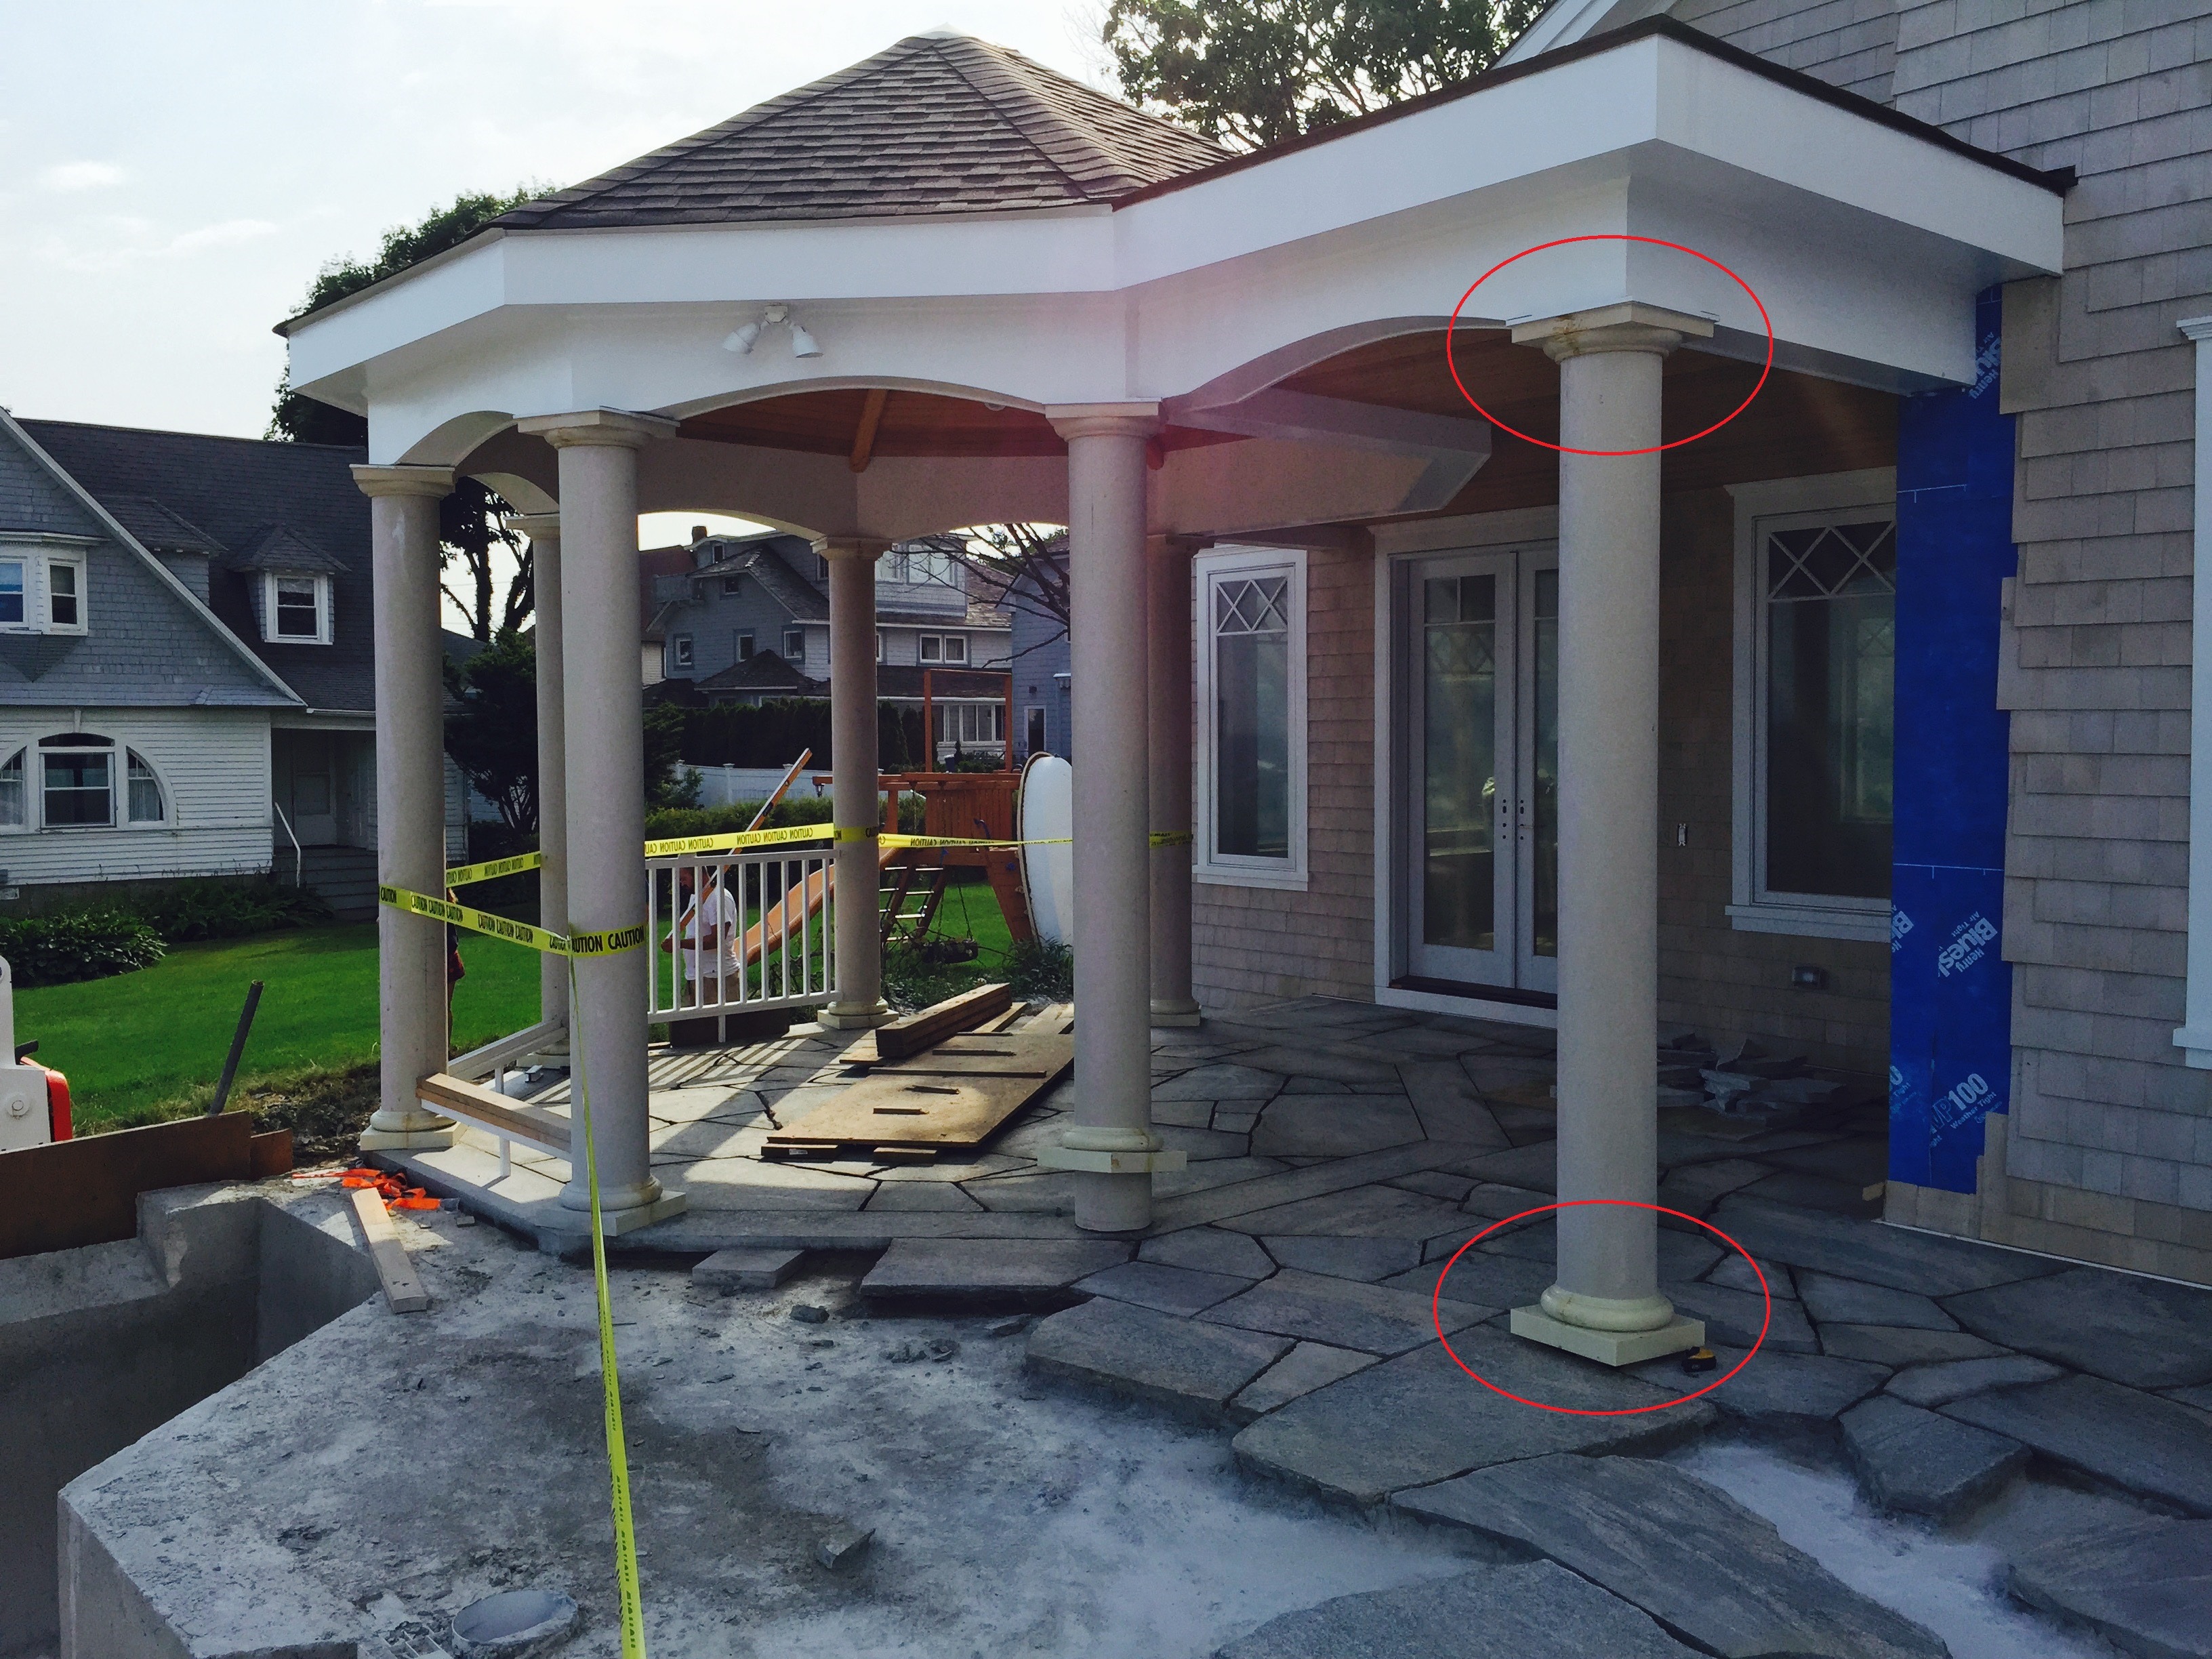
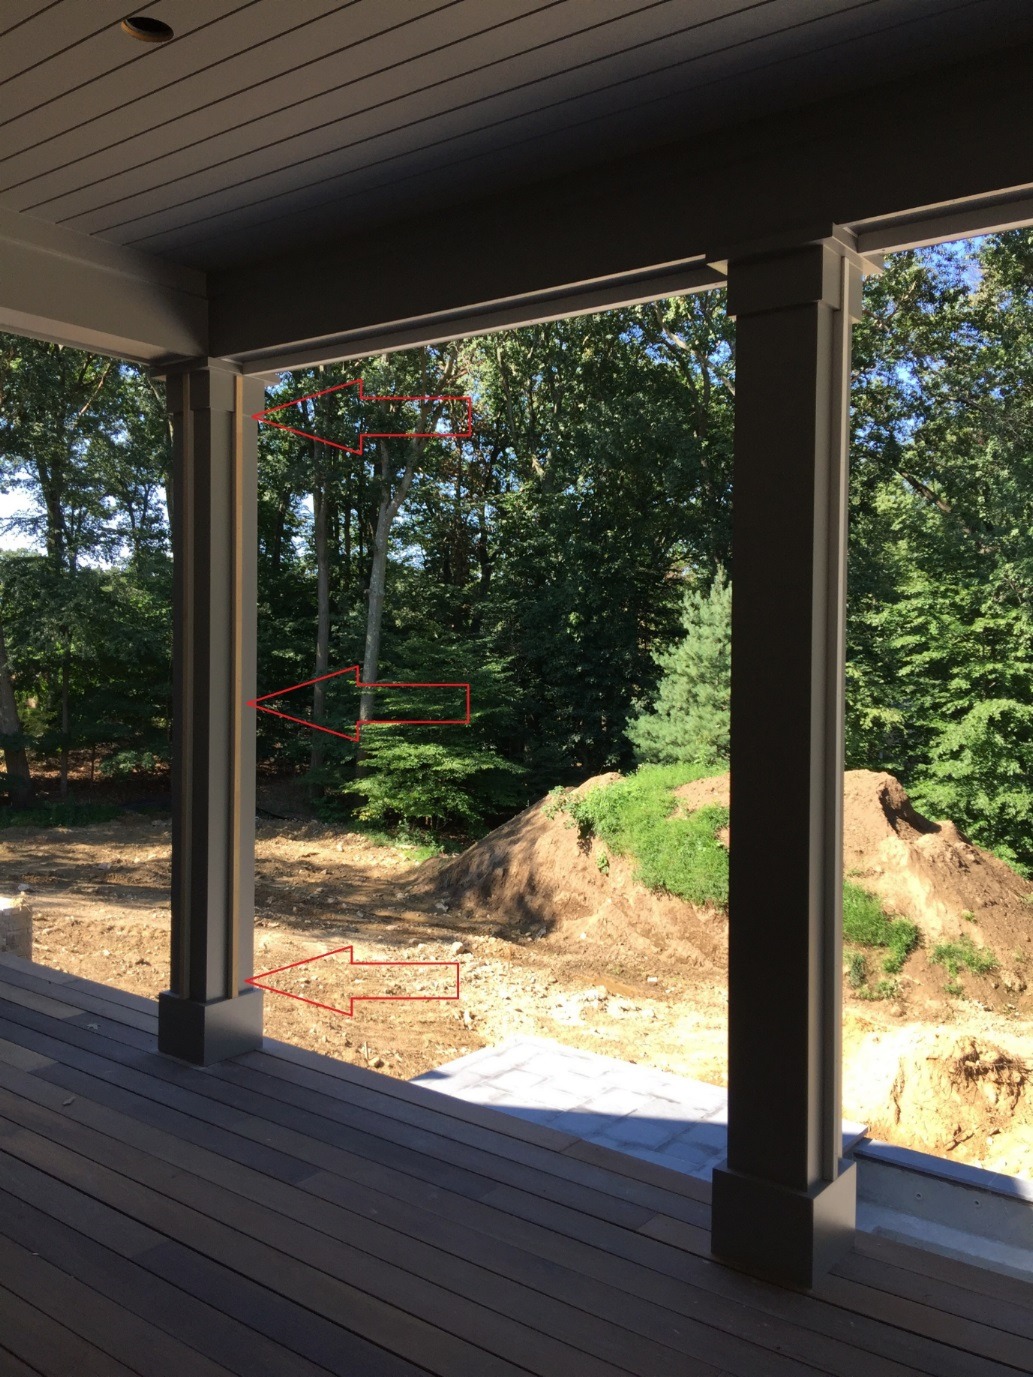
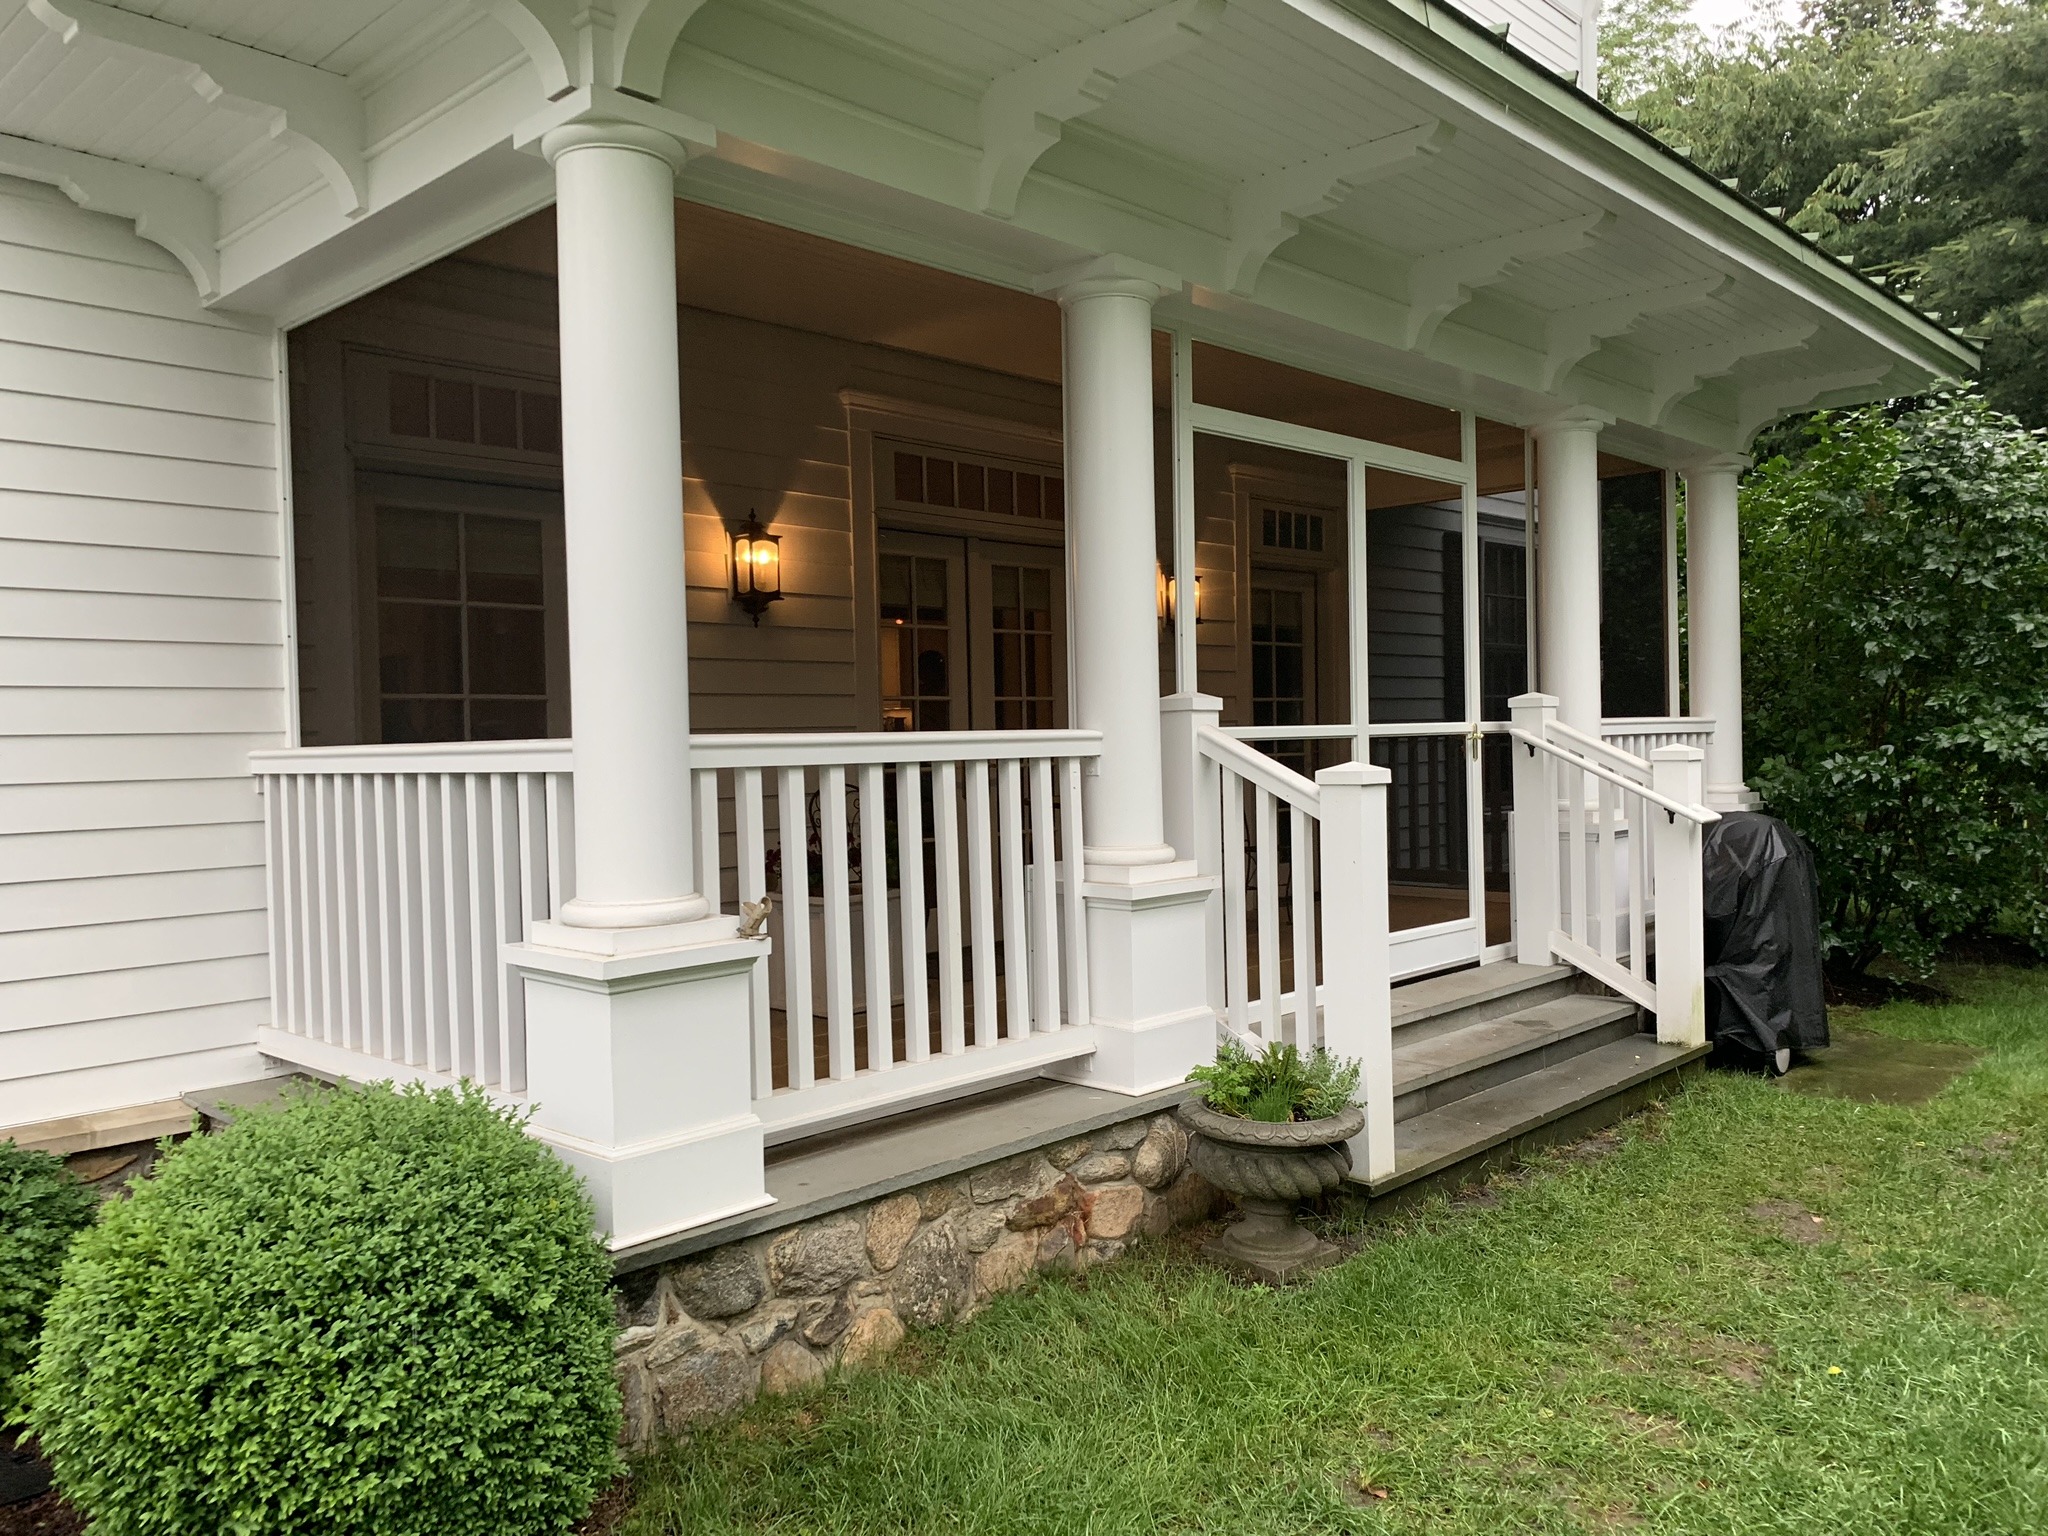
"Capitals" (the decoration at the top of a column) and "Bases" (the decoration at the base of a column) can range from a simple box style to ornate and grand. Porches may have no capitals or bases, only capitals, only bases, or have both. In all cases, the goal is the same ... the creation of a flat surface to install the extrusion on. This is accomplished in one of 2 ways:
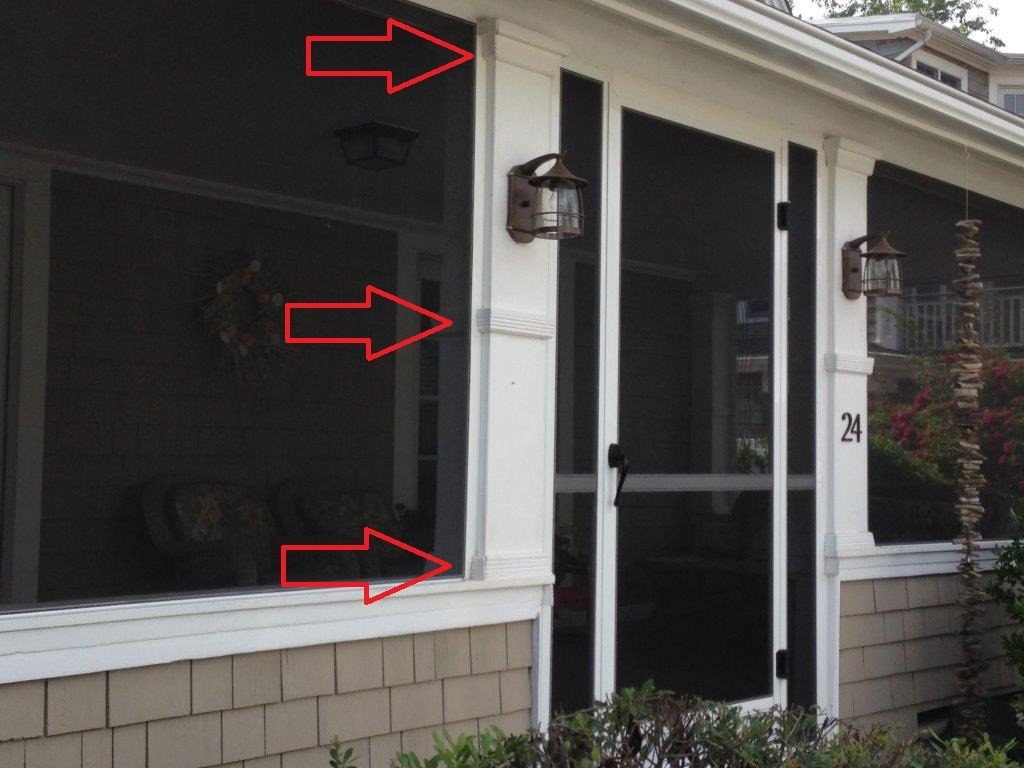
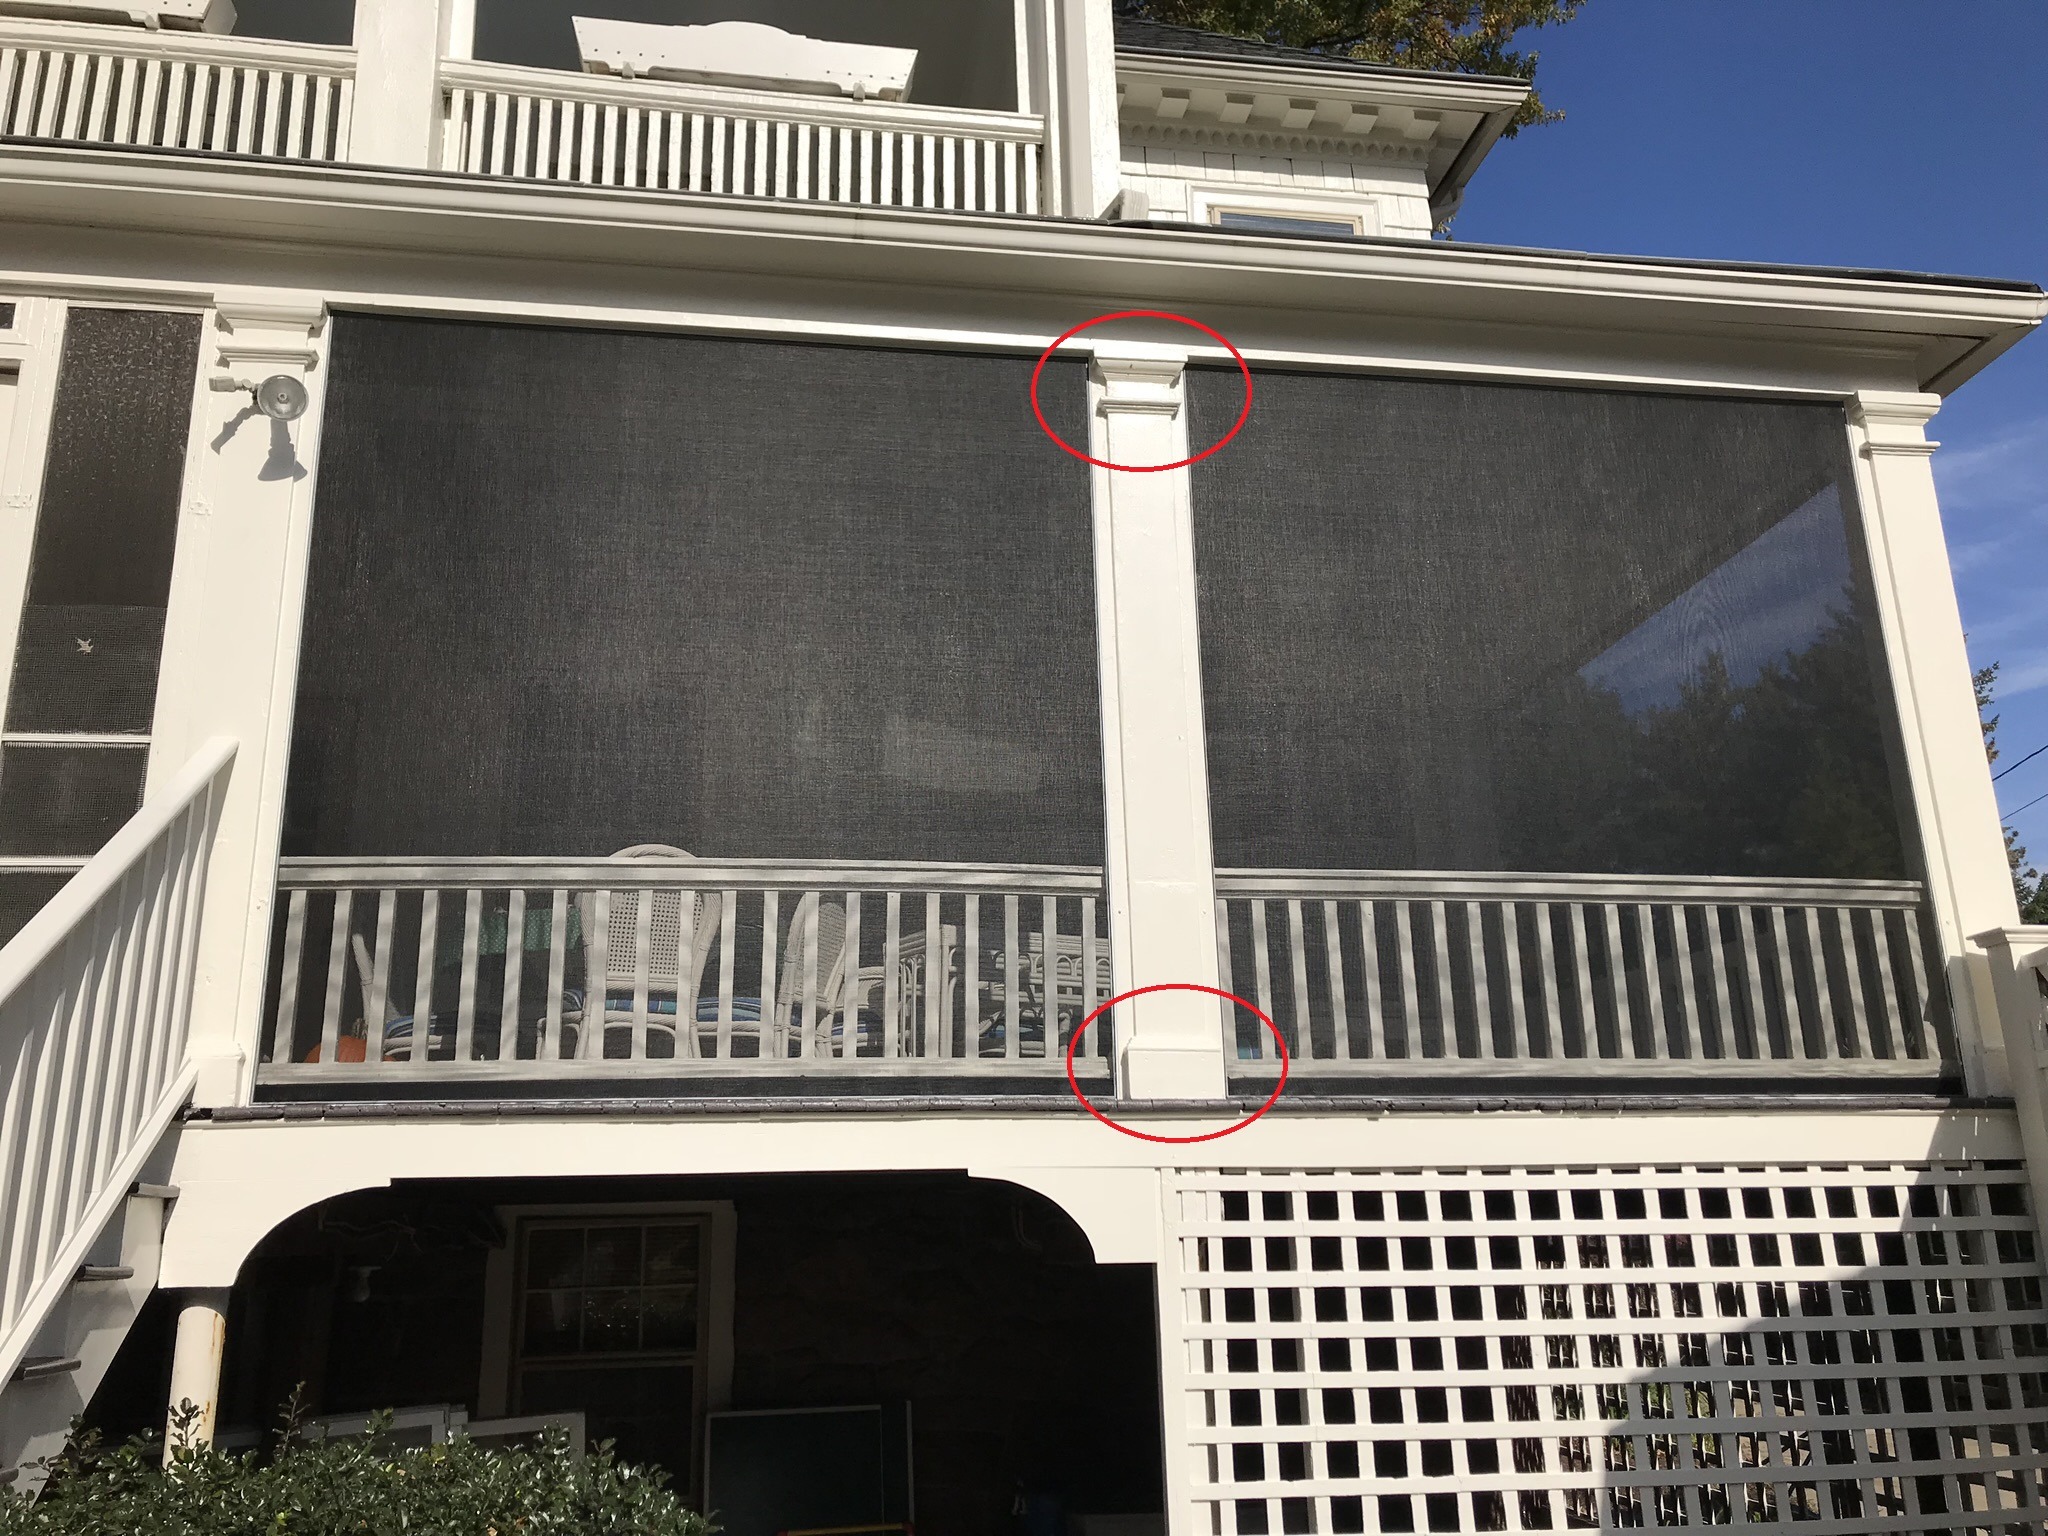
1) Split the Capital (or Base): The capital (or base) is split and removed, screen is installed, then the capital (or base) is reinstalled. Wherever the extrusion is present, the capital (or base) is trimmed down to accommodate the extrusion. At times this can be accomplished with a partial capital (or base) removal but it will depend upon the capital (or base) design.
Examples below:
- Left photo has a split capital, split base, and a base edge starter strip*.
- Right photo has split capital, split base, split center trim and a vertical starter strip*.
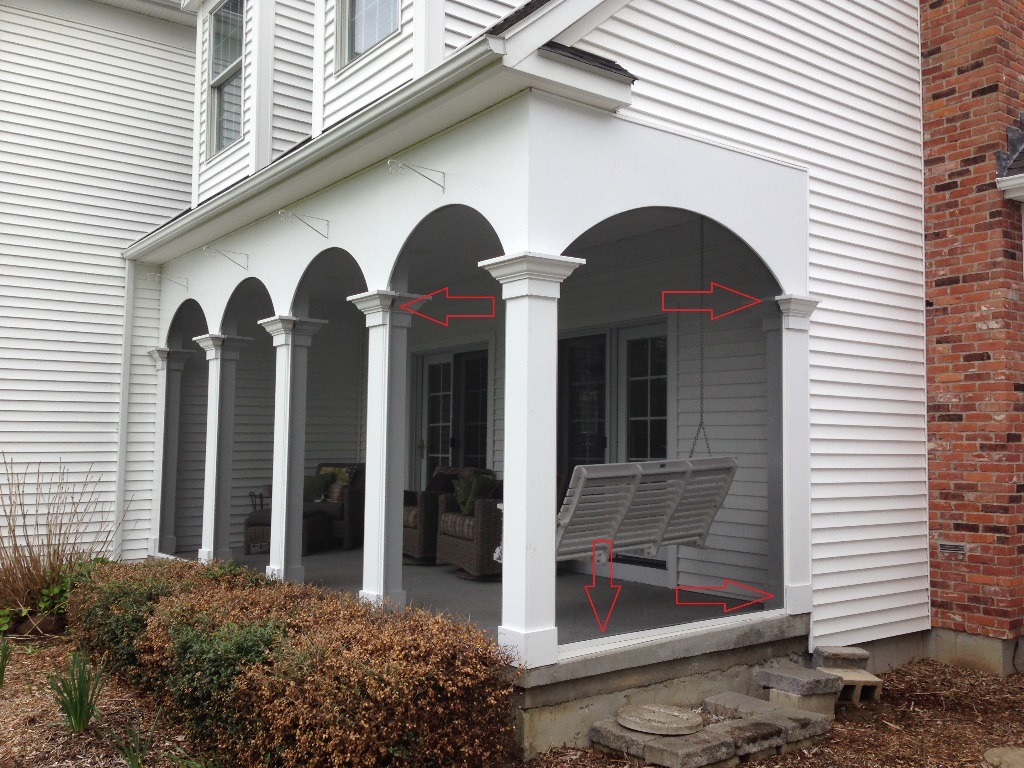
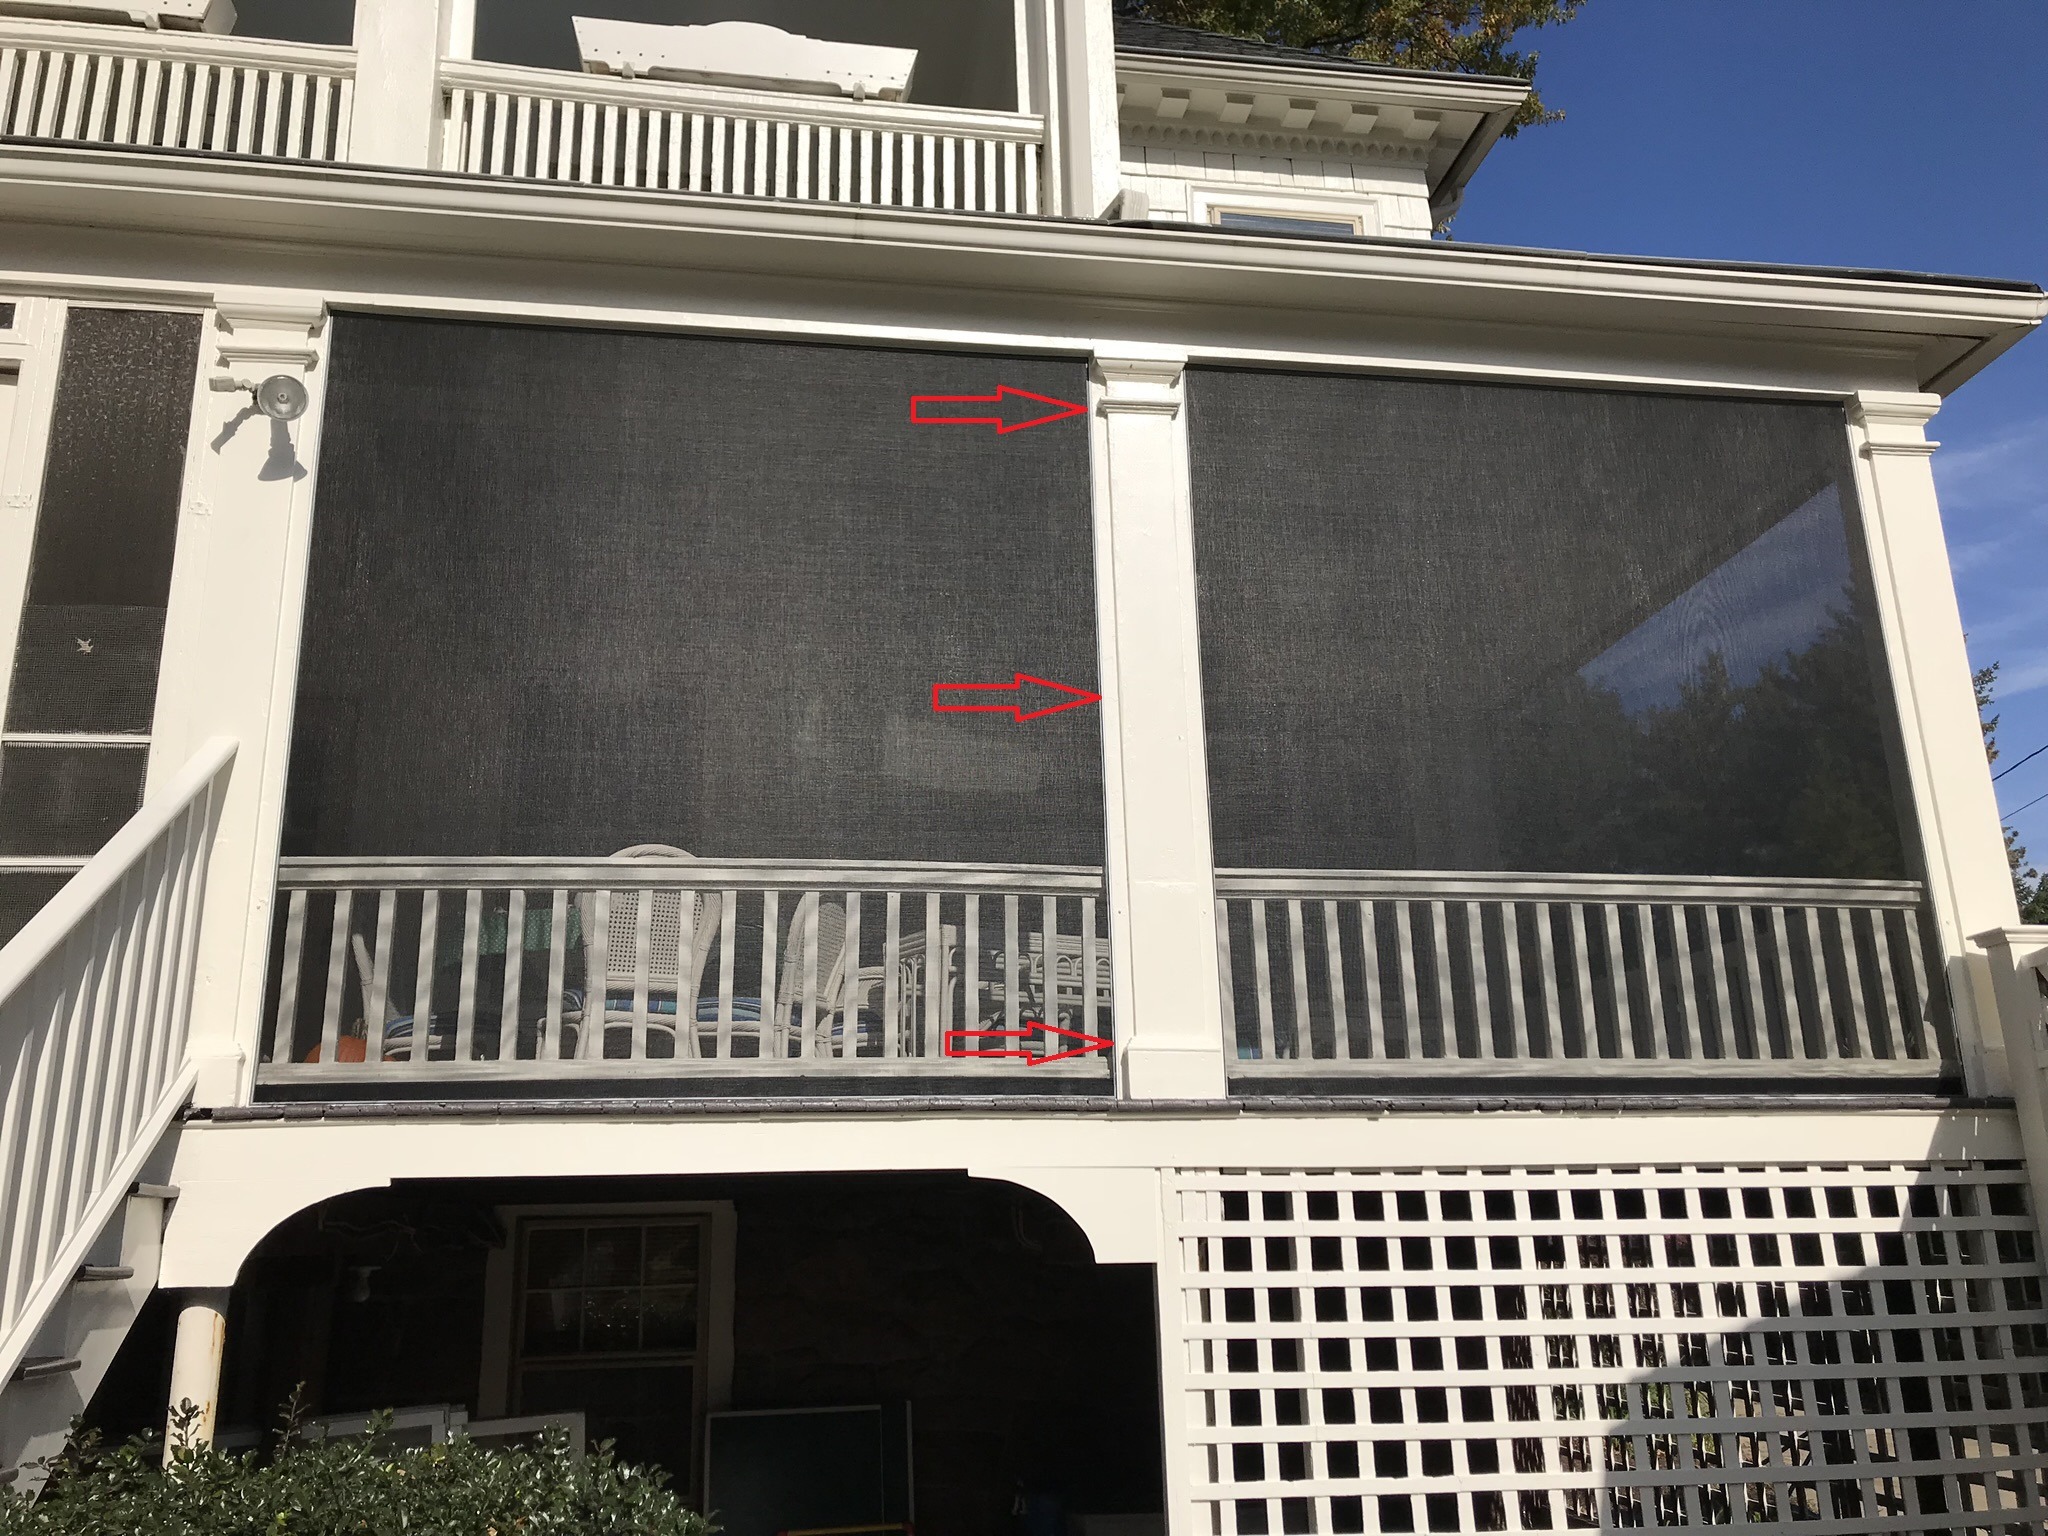
2) Create "Negatives": Negatives are typically made from 1" or 5/4" material - either wood or PVC and are shaped and sized to fill in the difference between the outer most edge of the capital (or base) and the column.
Examples below:
- Capitals and bases are noted on each photo on the left.
- "Negatives" are noted on the right side photos.
In both cases, the "Negatives" creates the mounting surface for the extrusion. Also note that on the top right photo, a large "negative" was avoided by creating a return filler on the capital and a toe kick in between the bases.
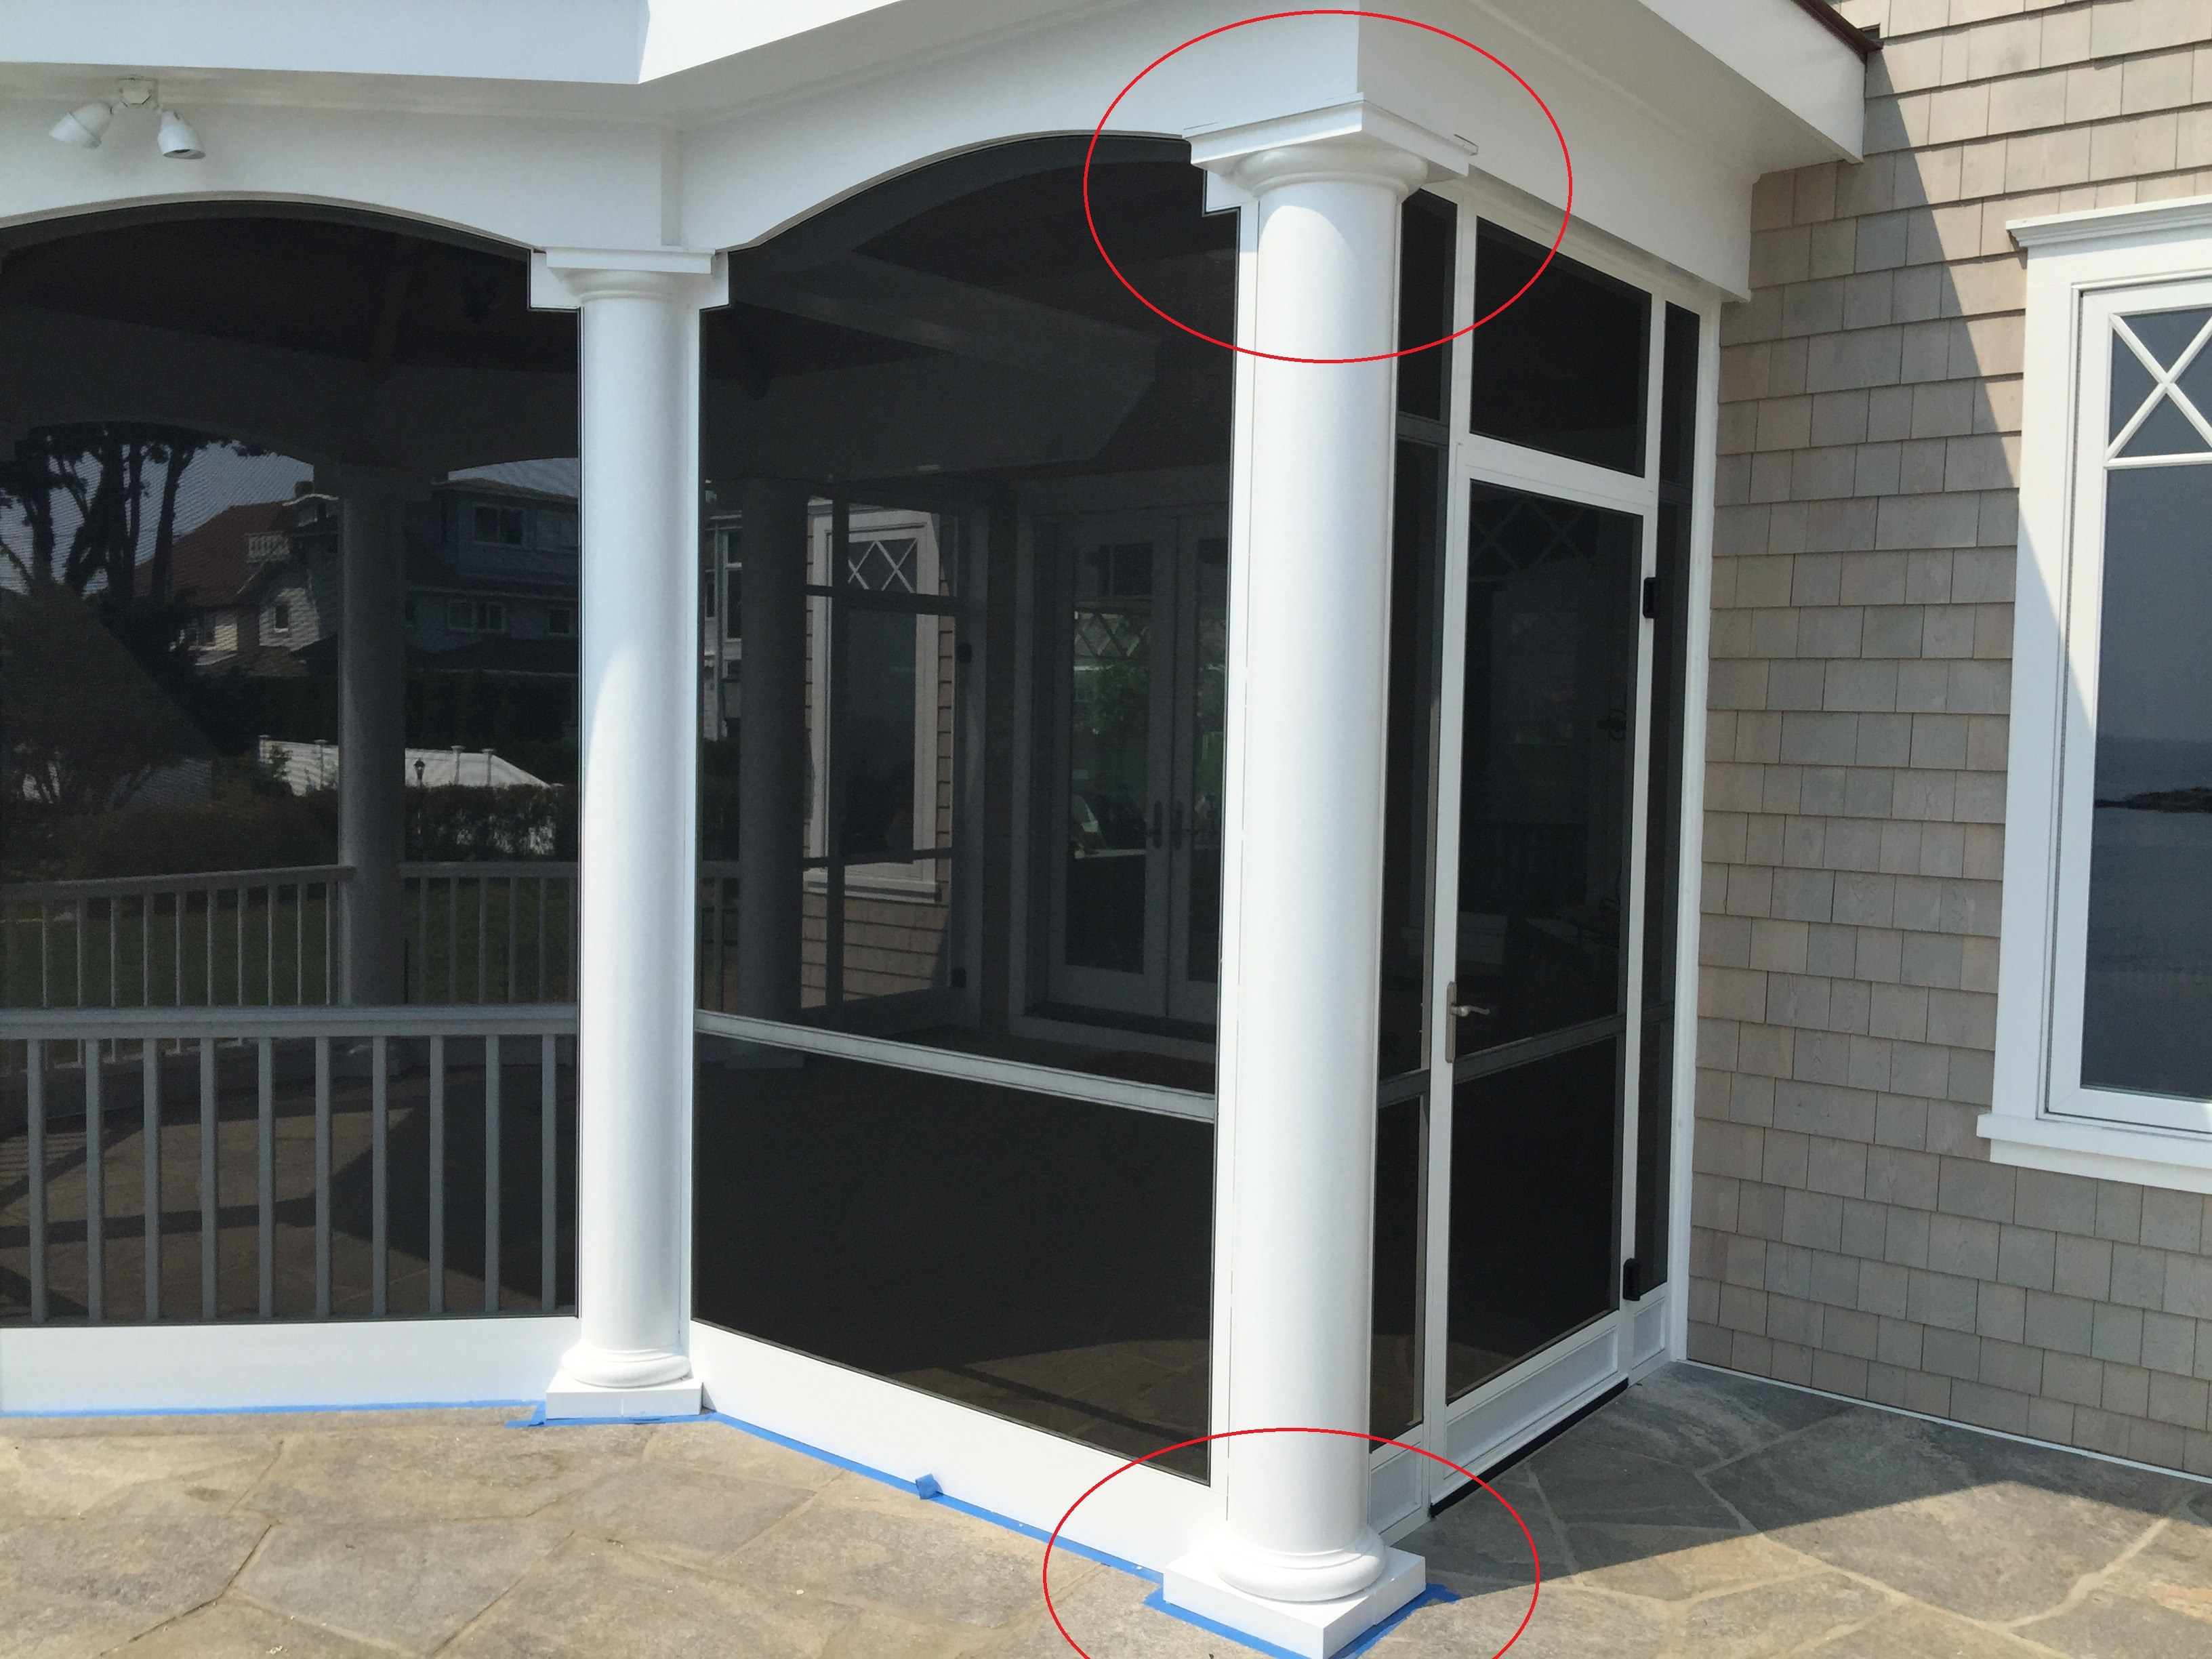
Exterior "before" and "after" photo's shown below
Photo Left:
Here's another "Negative" variation. Notice in this application, the negative sits on the base and is notched to go over the capital in order to create a clean mounting surface for the SNAPP® screen extrusion.
* A "starter strip" or "spacer" is either a wood or PVC material used to add room in between the extrusion and the floor, a column, wall, etc. These are sized as needed and are not required in all installations, They are most often used on concrete or stone floors as well as stone or brick columns. Benefit of a starter strip, besides added work room, is that the SNAPP® screen extrusion can be installed using standard hardware (for appearance) and any masonry hardware used to mount he starter strip is hidden underneath.
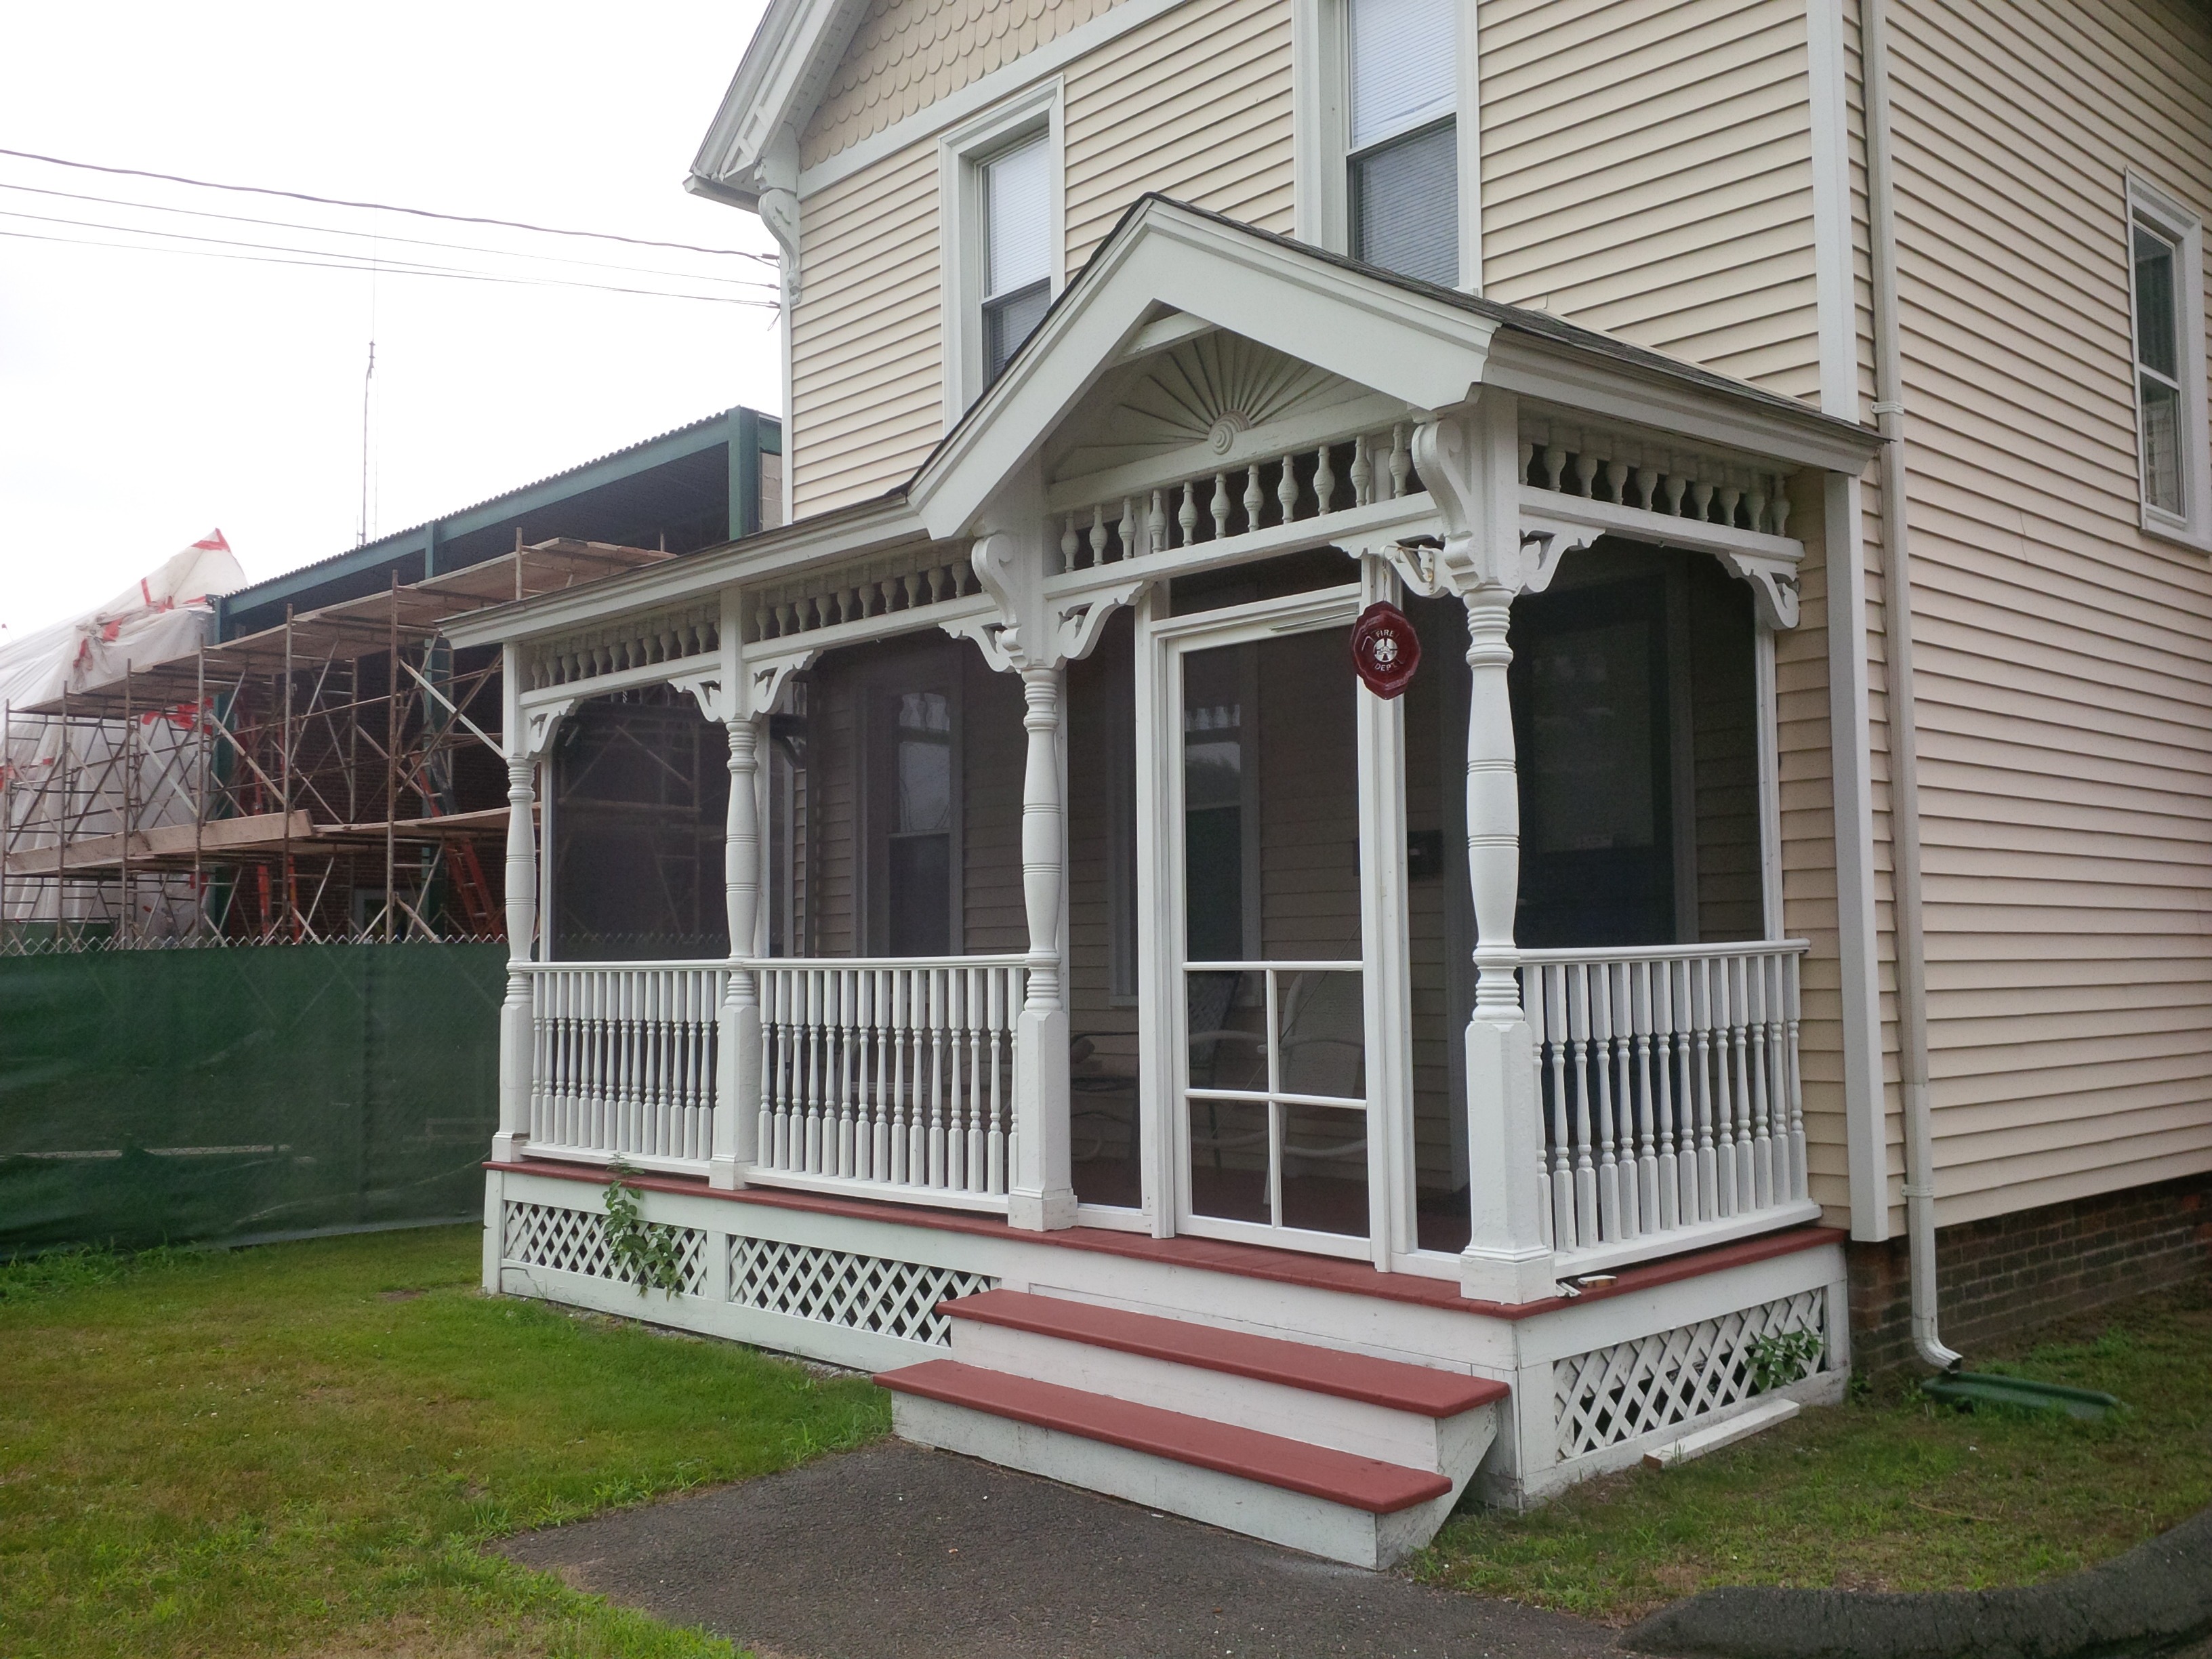
Victorian - Gingerbread, and other ornate styles
You will need to build a physical framing structure inside the porch - from floor to ceiling and from end to end. Framing is normally 2x3 or 2x4 pressure treated or a structural composite material. You will need to frame out for a door - preferably centered with the entrance stairway. Aligning all breaks behind columns. The goal here, with the exception of the door jamb and side lite(s) (if needed) is to have the entire framing system hidden inside the porch. Once this structure is fully built and finish painted, you would treat the project as a standard porch screening project.
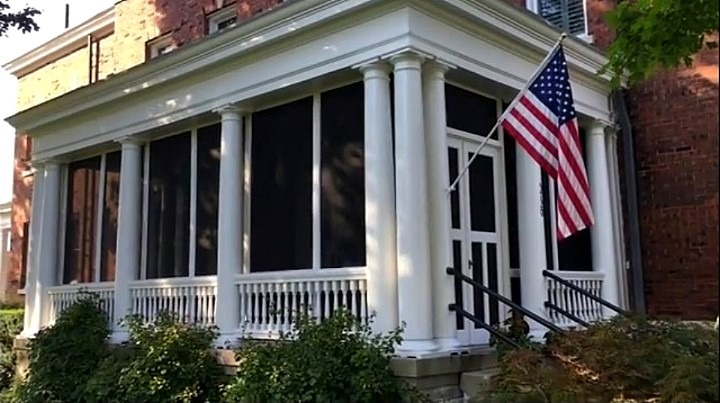
All three porches shown here have a full framing system constructed from standard building materials on the interior of the porch. With the framing system in place, all three porches are screened from the interior. Two of the porches have used traditional wooden style doors while one has opted for aluminum doors. In all cases, note how the screens have not detracted from the exterior character of each home.
Brick, Stone, Concrete and Stucco
Brick, stone, concrete and stucco installations can all be tricky - but are certainly not impossible. Best practice in all cases is to carefully plan for your screen porch during construction – if possible - so when it's time to install your screen porch no modifications are needed.
Pre-Construction:
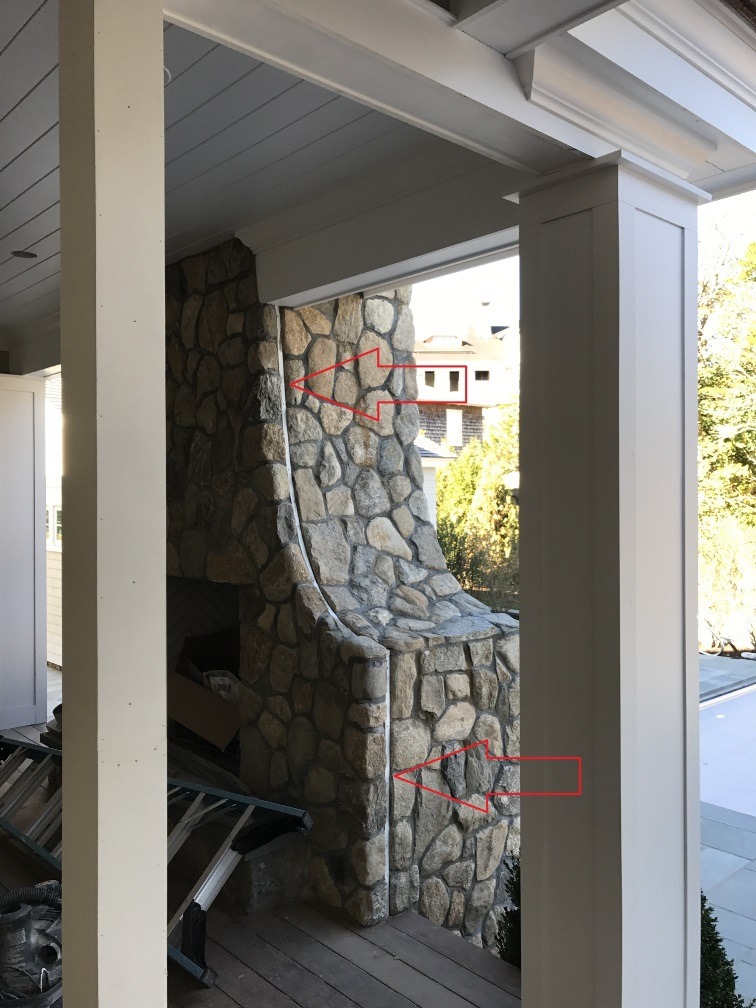
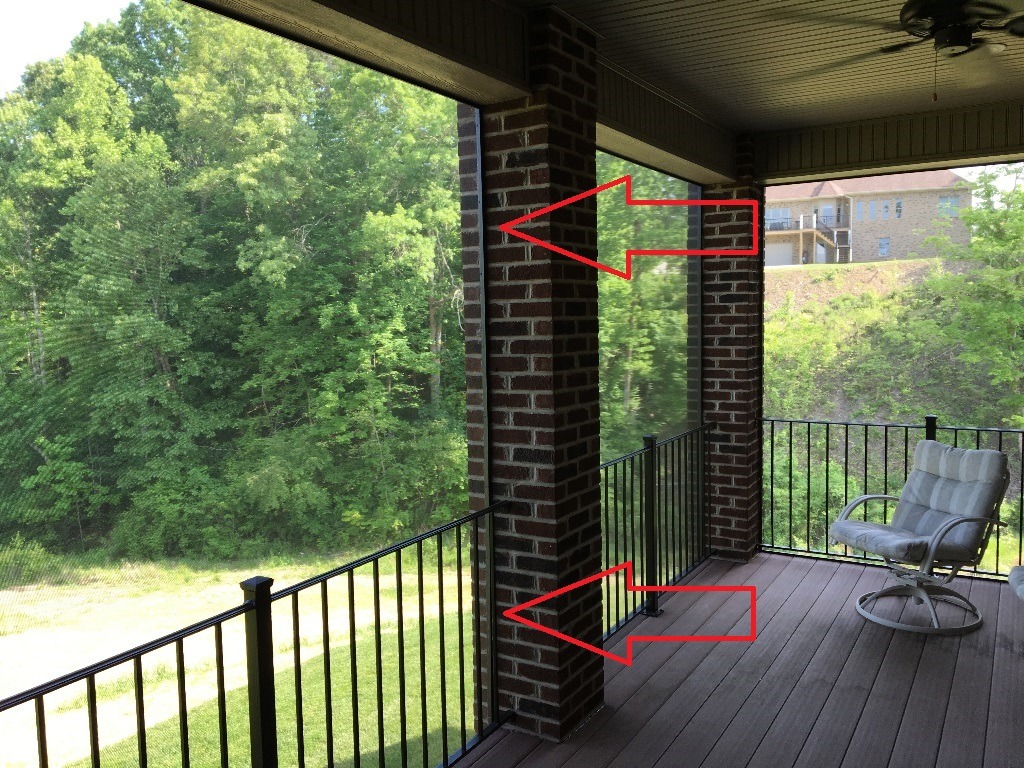
Shown left, proper planning has a mounting surface incorporated into the stone fireplace. Extrusion can be direct mounted, or a spacer can be used if needed. This concept is the same for brick installations also. When considering an installation onto modern stucco (stucco over styrofoam over wood), ensure a solid wood base will be present in all areas where installation will occur.
Existing Structures:
Shown lower left. If you are lucky enough to have a smooth brick, stone or concrete surface you can mount the extrusion directly. We prefer the use of a "starter strip" or "spacer" (see above for details) but it is not required for smooth installations. If your surface is not smooth, you will first need to install the "starter strip" to create the mounting surface. Anchor securely and fill any gaps between the brick, stone or concrete with solid roll foam, tucking in as needed with a screwdriver or putty knife. (do not use spray foam or caulk)
Stucco: Real stucco over concrete - install direct if possible or install "starter strip" first. Modern stucco (stucco over styrofoam over wood), use extreme caution. Installation screws must be long enough to penetrate the wood base under the stucco and styrofoam. Additionally, tighten screws snug but do not over tighten. Over tightening can damage stucco.
